ionic tutorial - javascript forms example | Ionic - Javascript Forms - ionic - ionic development - ionic 2 - ionic framework
What are JavaScript Forms in Ionic Framework?
- The JavaScript Forms include JavaScript checkbox, Radio buttons, and toggle.
How to use JavaScript checkbox in Ionic Framework?
- To use the Ionic JavaScript Checkbox, ion-checkbox element is created in HTML file.
- An attribute ng-model is assigned which will be connected to angular $scope.
- It is noticed that dot is used when defining the model value, even without the dot, it will work.
- The dot allows maintaining the link between child and parent scopes.
- After the element is created, the value of the element is bind with angular expressions.
ionic tutorial . extension , ionic framework , ionic , ionic framework book , ionic app example , ionic templates , ionic getting started
Using ion-checkbox:
- First, we need to create ion-checkbox element in HTML file. Inside of it we will assign ng-model attribute that will be connected to the angular $scope.
- You will notice that we are using dot when defining value of model even though it would work without it.
- This will allow us to keep the link between child and parent scopes at all times.
- This is very important to avoid some issues that could happen in the future.
- After we created the element, we will bind its value using angular expressions.
<ion-checkbox ng-model="checkboxModel.value1">Checkbox 1</ion-checkbox>

<ion-checkbox ng-model="checkboxModel.value2">Checkbox 2</ion-checkbox>

<p>Checkbox 1 value is: <b>{{checkboxModel.value1}}</b></p>
<p>Checkbox 2 value is: <b>{{checkboxModel.value2}}</b></p>
Click below button to copy the code. From wikitechy - ionic tutorial - ionic framework tutorial - team
- Next, we need to assign values to our model inside controller.
- The values we will use are false since we want to start with unchecked checkboxes.
$scope.checkboxModel = {
   value1 : false,
   value2 : false
};
Click below button to copy the code. From wikitechy - ionic tutorial - ionic framework tutorial - team
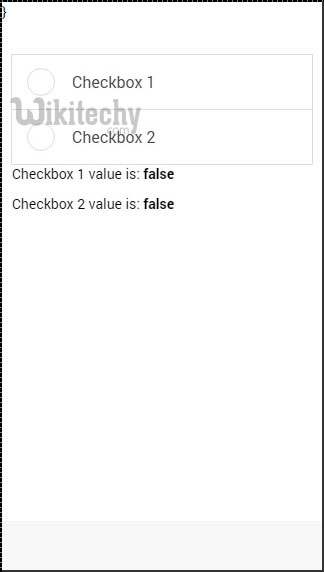
- Now when we tap checkbox elements it will automatically change their model value to true as showed below.

ionic tutorial . extension , ionic framework , ionic , ionic framework book , ionic app example , ionic templates , ionic getting started
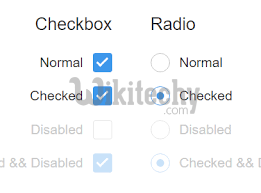
Using ion-radio:
- First, we will create three ion-radio elements in our HTML and assign ng-model and ng-value to it. After that, we will display chosen value with angular expression.
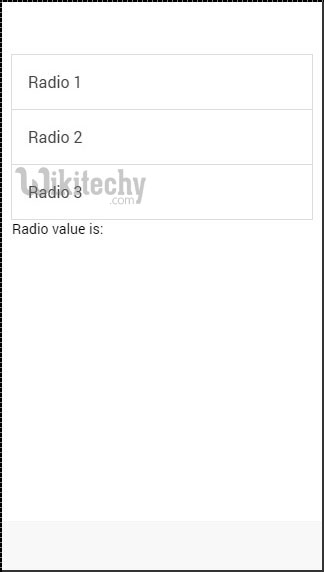
- We will start with all three radio elements unchecked so the value will not be assigned to our screen.
<ion-radio ng-model = "radioModel.value" ng-value = "1">Radio 1</ion-radio>
<ion-radio ng-model = "radioModel.value" ng-value = "2">Radio 2</ion-radio>
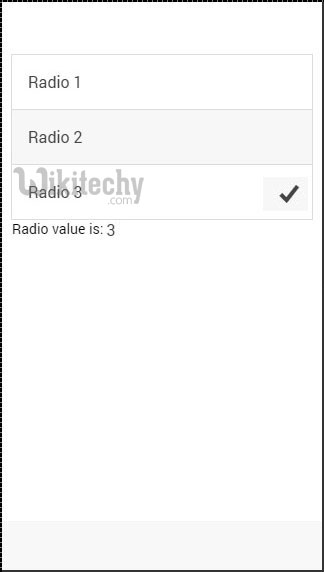
<ion-radio ng-model = "radioModel.value" ng-value = "3">Radio 3</ion-radio>
<p>Radio value is: <b>{{radioModel.value}}</b></p>
Click below button to copy the code. From wikitechy - ionic tutorial - ionic framework tutorial - team
- When we tap third checkbox element the value will change accordingly.
ionic tutorial . extension , ionic framework , ionic , ionic framework book , ionic app example , ionic templates , ionic getting started
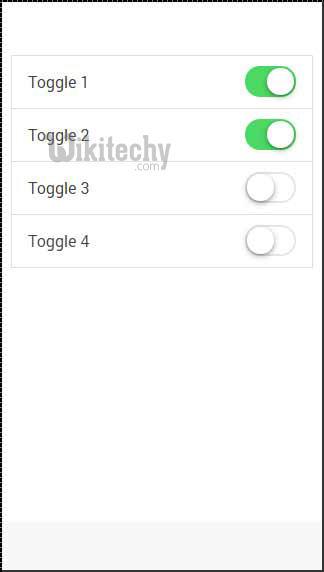
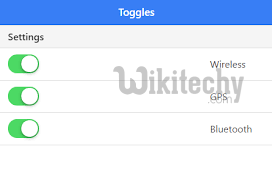
Using ion-toggle:
- You will notice that toggle is similar to checkbox. We will follow the same steps as we did with our checkbox.
- In HTML file, first we will create ion-toggle elements, then assign ng-model value and then bind expression values of to our view.
<ion-toggle ng-model = "toggleModel.value1">Toggle 1</ion-toggle>
<ion-toggle ng-model = "toggleModel.value2">Toggle 2</ion-toggle>
<ion-toggle ng-model = "toggleModel.value3">Toggle 3</ion-toggle>
<ion-toggle ng-model = "toggleModel.value4">Toggle 4</ion-toggle>

<p>Toggle value 1 is: <b>{{toggleModel.value1}}</b></p>
<p>Toggle value 2 is: <b>{{toggleModel.value2}}</b></p>
<p>Toggle value 3 is: <b>{{toggleModel.value3}}</b></p>
<p>Toggle value 4 is: <b>{{toggleModel.value4}}</b></p>
Click below button to copy the code. From wikitechy - ionic tutorial - ionic framework tutorial - team
- Next, we will assign values to $scope.toggleModel in our controller.
- Since toggle use boolean values we will assign true to first element and false to the other three.
$scope.toggleModel = {
  value1 : true,
  value2 : false,
  value3 : false,
  value4 : false
};
Click below button to copy the code. From wikitechy - ionic tutorial - ionic framework tutorial - team
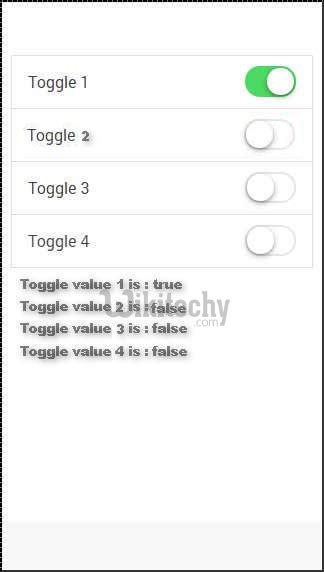
- Now we will tap on second toggle to show you how the values change from false to true.