ionic tutorial - Cordova camera | Ionic cordova camera - ionic - ionic development - ionic 2 - ionic framework
Camera
- Take a photo or capture video.
- Cordova camera plugin is using native camera for taking pictures or getting images from the image gallery.
- Requires and the Cordova plugin: cordova-plugin-camera. For more info, please see the Cordova Camera Plugin Docs.
Using Camera
- Open your project root folder in command prompt, then download and install cordova camera plugin.
C:\Users\Username\Desktop\MyApp> cordova plugin add org.apache.cordova.camera
Click below button to copy the code. From wikitechy - ionic tutorial - ionic framework tutorial - team
- Now we will create service for using camera plugin. We will use AngularJs factory and promise object $q that needs to be injected to the factory.
ionic tutorial . extension , ionic framework , ionic , ionic framework book , ionic app example , ionic templates , ionic getting started
services.js Code
factory('Camera', function($q) {

   return {
      getPicture: function(options) {
         var q = $q.defer();

         navigator.camera.getPicture(function(result) {
            q.resolve(result);
         }, function(err) {
            q.reject(err);
         }, options);

         return q.promise;
      }
   }
Click below button to copy the code. From wikitechy - ionic tutorial - ionic framework tutorial - team
- To use this service in the app we need to inject it to controller as a dependency.
- Cordova camera API provides getPicture method which is used for taking photos using native camera.
- You can additionally customize the camera settings by passing options parameter to the takePicture function. Copy this code sample to your controller to trigger this behavior.
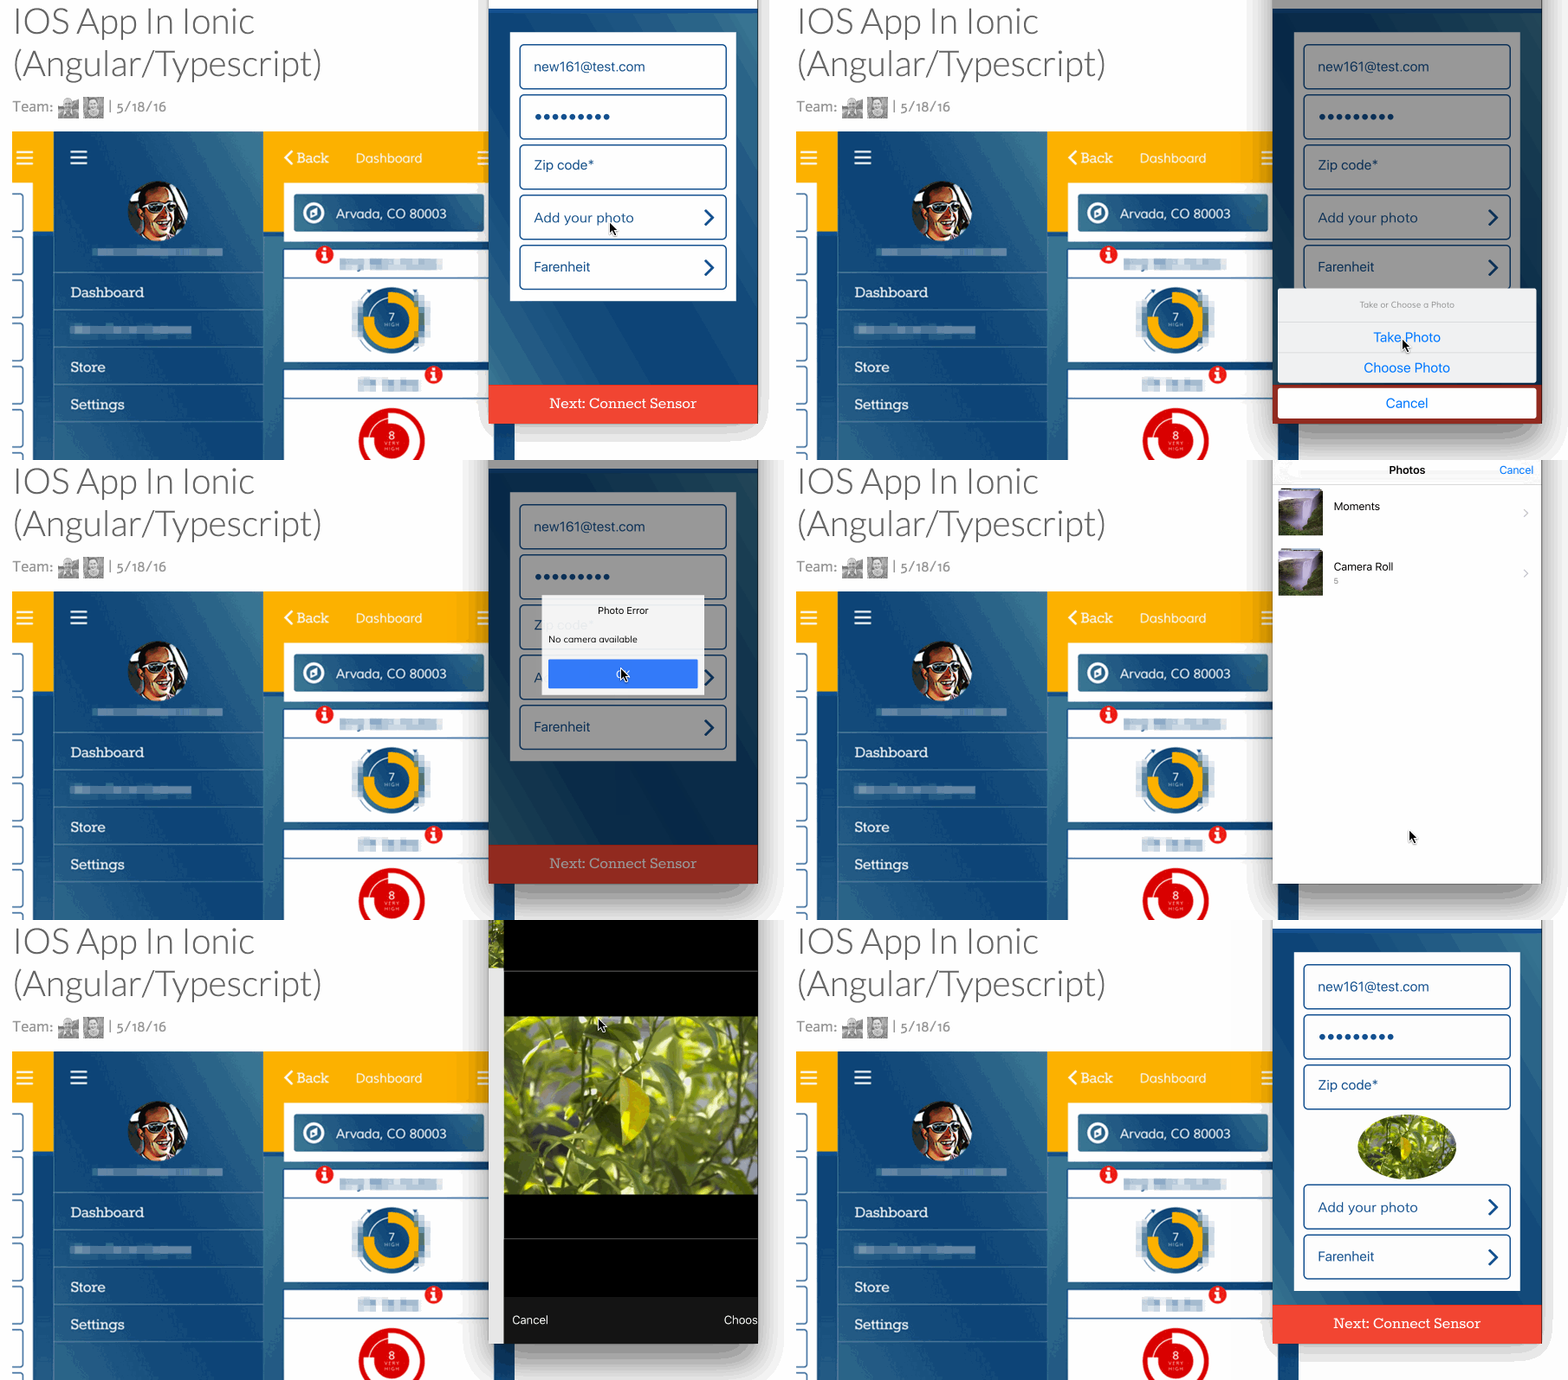
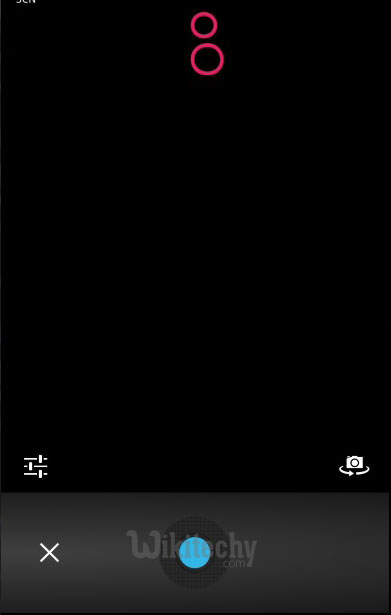
- It will open camera application and return success callback function with the image data or error callback function with error message.
- We will also need two buttons that will call the functions we are about to create and we need to show the image on the screen.
ionic tutorial . extension , ionic framework , ionic , ionic framework book , ionic app example , ionic templates , ionic getting started
HTML Code
<button class = "button" ng-click = "takePicture()">Take Picture</button>
<button class = "button" ng-click = "getPicture()">Open Gallery</button>
<img ng-src = "{{user.picture}}">
Click below button to copy the code. From wikitechy - ionic tutorial - ionic framework tutorial - team
ionic tutorial . extension , ionic framework , ionic , ionic framework book , ionic app example , ionic templates , ionic getting started
Controller Code
.controller('MyCtrl', function($scope, Camera) {

   $scope.takePicture = function (options) {

      var options = {
         quality : 75,
         targetWidth: 200,
         targetHeight: 200,
         sourceType: 1
      };

      Camera.getPicture(options).then(function(imageData) {
         $scope.picture = imageData;;
      }, function(err) {
         console.log(err);
      });

   };

})
Click below button to copy the code. From wikitechy - ionic tutorial - ionic framework tutorial - team
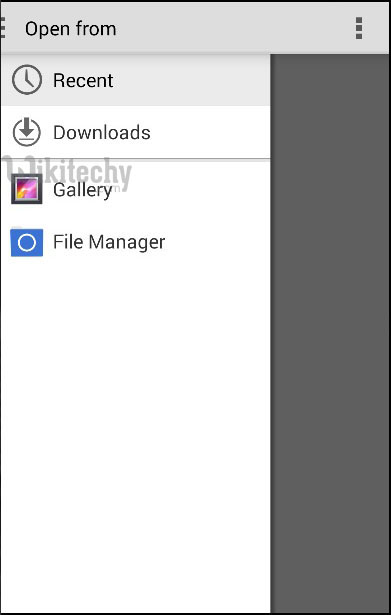
- If you want to use images from your gallery, the only thing you need to change is the sourceType method from your options parameter.
- This change will open a dialog popup instead of camera and allow you to choose the image you want from the device.
- You can see below that sourceType option is changed to 0. Now when you tap the second button, it will open the file menu from the device.
Controller Code
.controller('MyCtrl', function($scope, Camera) {

   $scope.getPicture = function (options) {

      var options = {
         quality : 100,
         targetWidth: 300,
         targetHeight: 300,
         sourceType: 0
      };

      Camera.getPicture(options).then(function(imageData) {
         $scope.picture = imageData;;
      }, function(err) {
         console.log(err);
      });
   };

})
Click below button to copy the code. From wikitechy - ionic tutorial - ionic framework tutorial - team
- When you save the image you took, it will appear on the screen. You can style it the way you want.
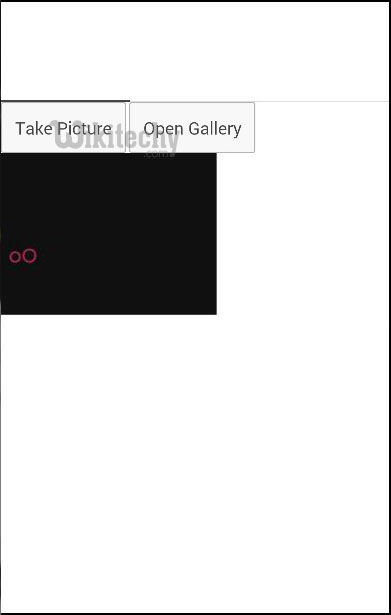
- There are other options that can be used. You can see it in the following table.
| Parameter | Type | Details |
|---|---|---|
| quality | Number | The quality of the image, range 0-100 |
| destinationType | Number | Format of the image. |
| sourceType | Number | Used for setting the source of the picture. |
| allowEdit | boolean | Used for allowing editing of the image. |
| encodingType | Number | Value 0 will set JPEG, and value 1 will set PNG. |
| targetWidth | Number | Used for scaling image width. |
| targetHeight | Number | Used for scaling image height. |
| mediaType | string | Used for setting the media type. |
| cameraDirection | Number | Value 0 will set the back camera, and value 1 will set the front camera. |
| popoverOptions | string | iOS-only options that specify popover location in iPad |
| saveToPhotoAlbum | boolean | Used for saving image to photo album. |
| correctOrientation | boolean | Used for correcting orientation of the captured images. |
