Ruby on Rails - Integrating Travis CI in your Github project - ruby on rails tutorial - rails guides - rails tutorial - ruby rails
What is Travis CI?
- Travis CI is an open-source hosted, distributed, and continuous integration service used to build and test projects hosted at GitHub.

learn ruby on rails tutorial - ruby on rails travis ci - ruby on rails example
- Continuous Integration is the overall for various techniques and practices that every self-respecting software project should employ.
- The main goal is to eliminate the long and tedious integration process, the work that you normally have to do between version's final development stage and its deployment in production. It can routinely perform (or rather, CI performs for you) the same sequence of steps, thus making the whole process polished and reliable.
Continuous Integration (CI)
- Continuous Integration is a process of running all unit tests on the latest code which is submitted to check if the newly added components have not broken any old functionality.
- It is very important from testing and deployment perspectives. It prevents the problems of after-deployment rollbacks.
- They are time-taking and reduce the reliability of products.
Why Travis CI
- Let's say you don't want to hire a dedicated dev-ops engineer or are in no need to dedicate a server to CI but you want to use CI as it is very important for your product.
- Travis CI comes to your help here.
- You don't have to maintain your own server or set up travis anywhere.
- Just include a few files in your repository for Travis to read and you are done.
- Travis has support for many languages and platforms.
- I use it for my Swift Cocoapod libraries, too.
- In this, I am providing steps to integrate Travis CI into your public Github repository.
Steps to Integrate Ruby on Rails Github public repo with Travis CI.
- Enable Travis from your repository settings → Integration and services → services
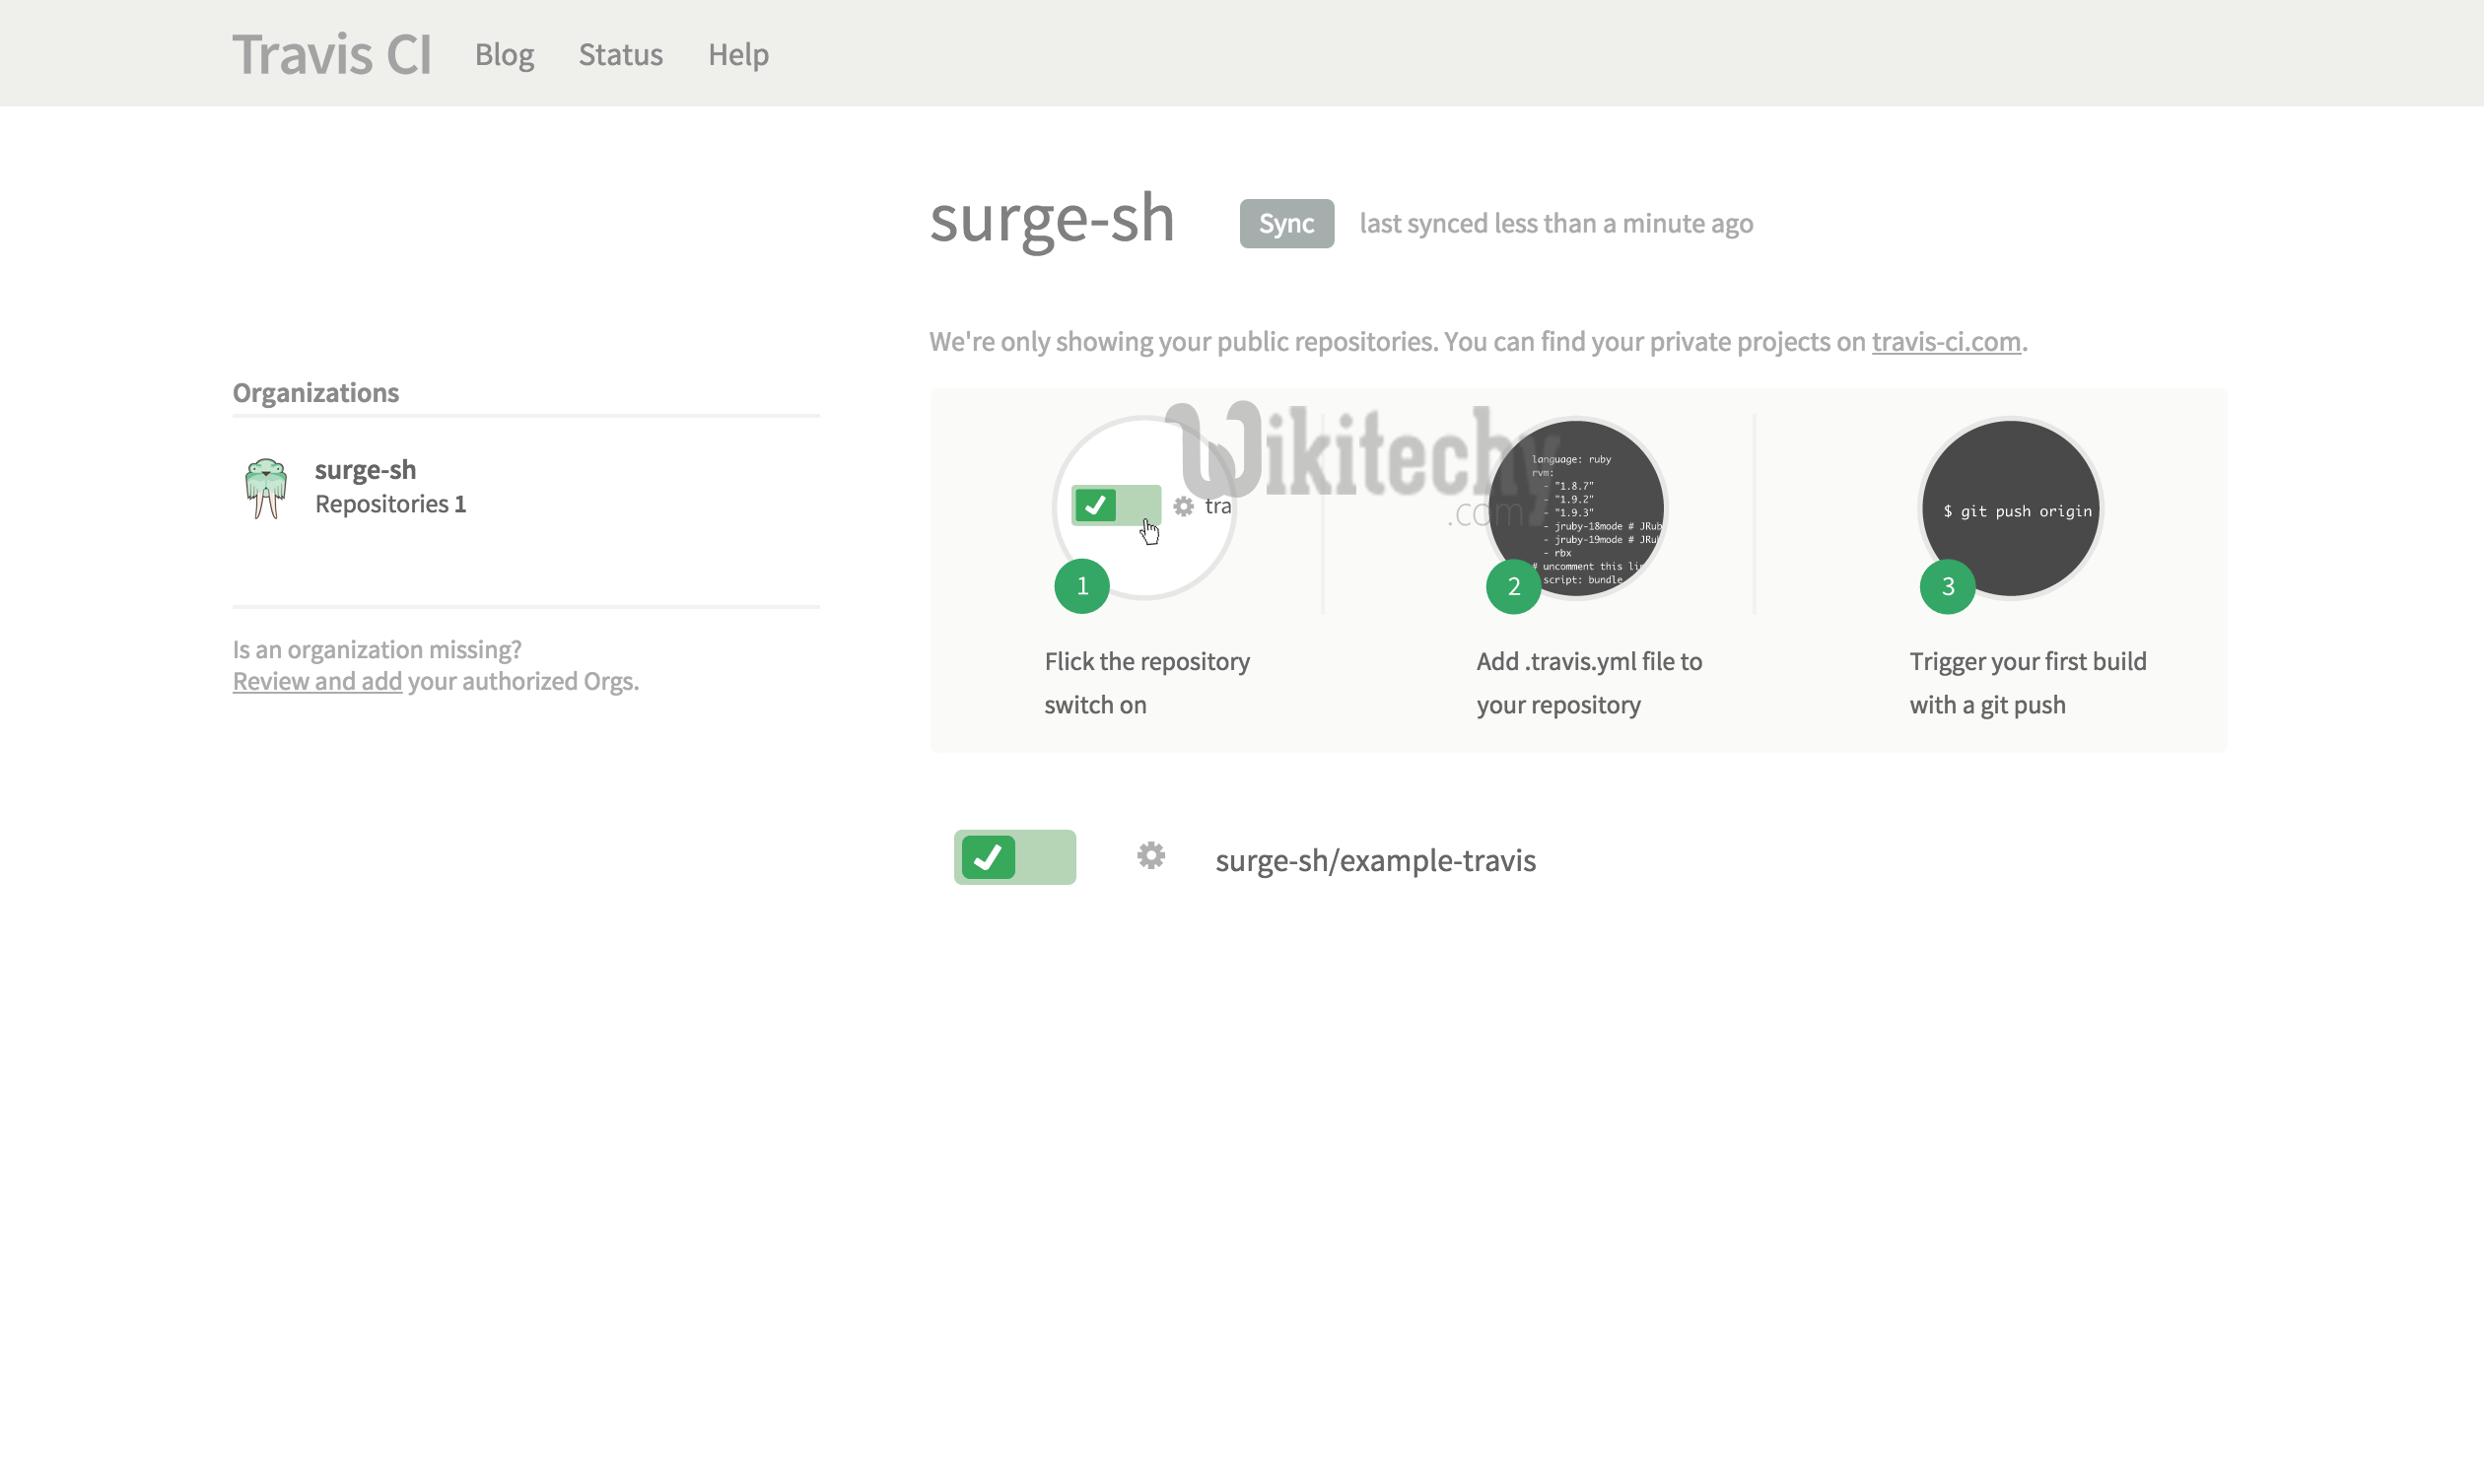
- Go to Travis console from the link there. If you don’t have a Travis account, create one, and it will list all your repositories.
- Enable the repository you wish to integrate by flicking the switch next to it.
- Now, create a .travis.yml file similar to this:
language: ruby
rvm:
  - "2.1.3"
env:
  - DB=postgresql
script:
  - RAILS_ENV=test bundle exec rake db:create db:migrate --trace
  - bundle exec rspec test/
before_script:
  - cp config/database.travis.yml config/database.yml
  - mysql -e 'create database mydb_test'
bundler_args: --binstubs=./bundler_stubs
Clicking "Copy Code" button will copy the code into the clipboard - memory. Please paste(Ctrl+V) it in your destination. The code will get pasted. Happy coding from Wikitechy - ruby on rails tutorial - rails guides - ruby rails - rubyonrails - learn ruby on rails - team
- The file above file should be added to your repo's root directory that is, top level.
- Add a config/database.travis.yml
default: &default
  adapter: postgresql
test:
  <<: *default
  database: mydb_test
  username: travis
  encoding: utf8
Clicking "Copy Code" button will copy the code into the clipboard - memory. Please paste(Ctrl+V) it in your destination. The code will get pasted. Happy coding from Wikitechy - ruby on rails tutorial - rails guides - ruby rails - rubyonrails - learn ruby on rails - team
- Now push the changes and let it create the first build.
Wrapping up
- Now, every time you push changes to your repository's master branch (you can specify a different branch through settings in Travis repository settings), your unit tests will be automatically run and any failures will be mailed to your Github attached email account.
