ReactJS Installation - React Tutorial for Beginners
How to install ReactJS
- Here you will learn how to set up environment for successful React development.
- Notice that there are several steps involved but this will help you to speed up progress process later.
- We will need NodeJS so if you don't have it installed, check the link from the below.
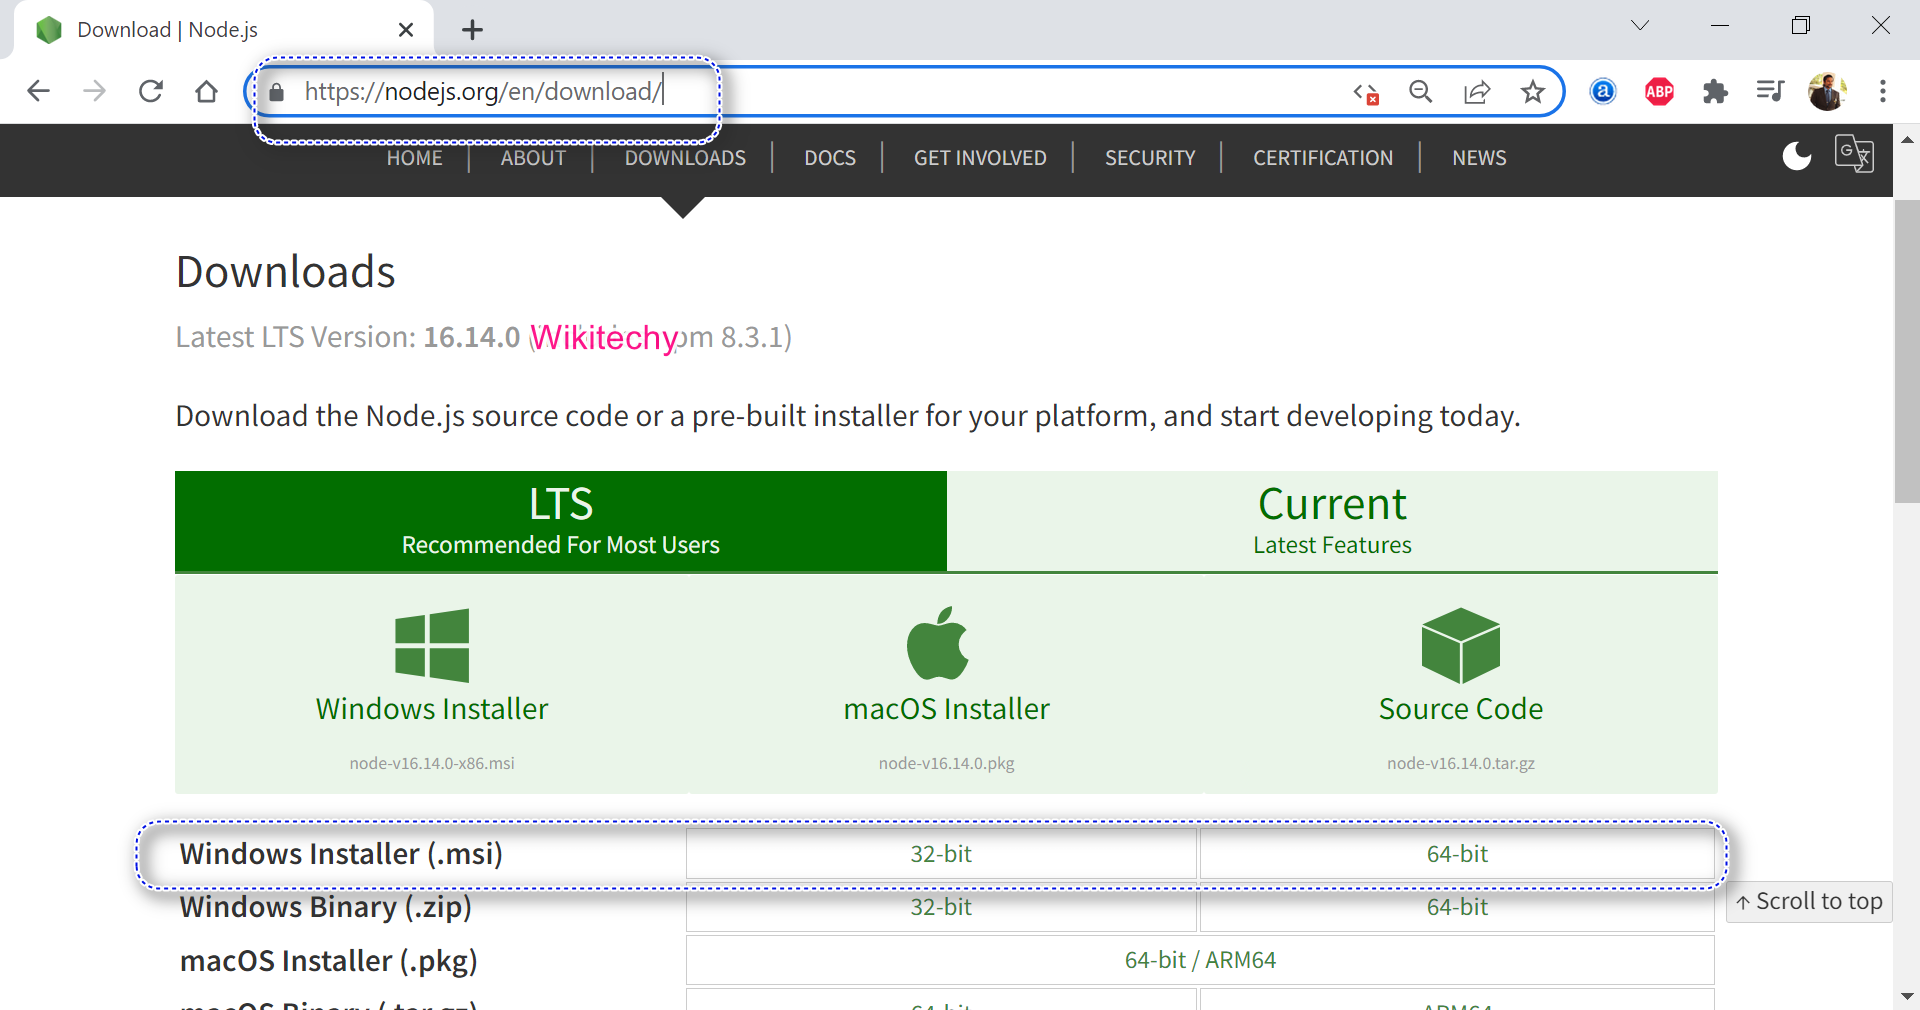
Step 1 - Download Node.js Installer for Windows
- Go to the site https://nodejs.org/en/download/ and download the necessary binary files.
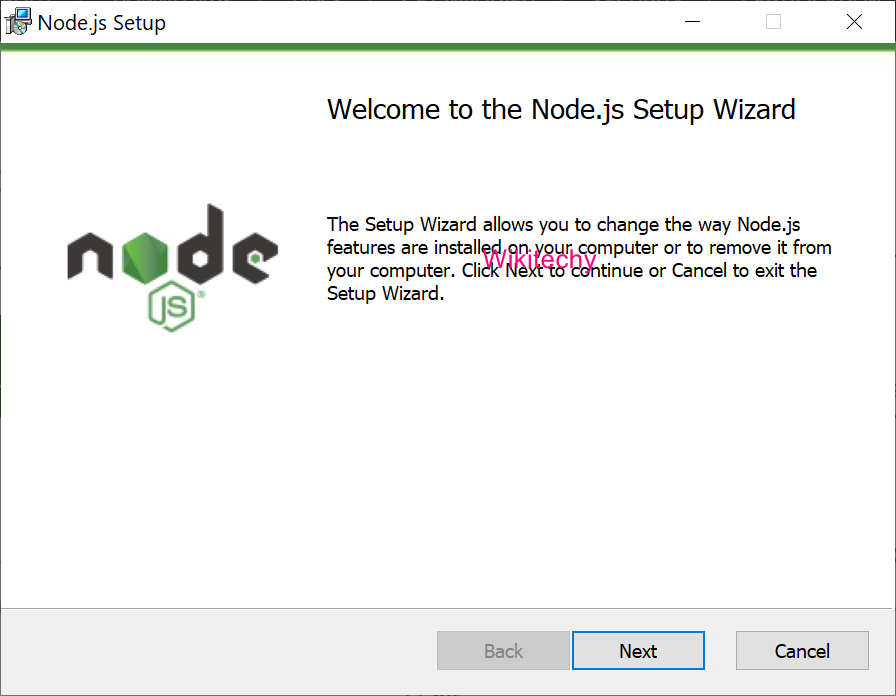
Step 2 - Double click on the downloaded .msi file to start the installation.
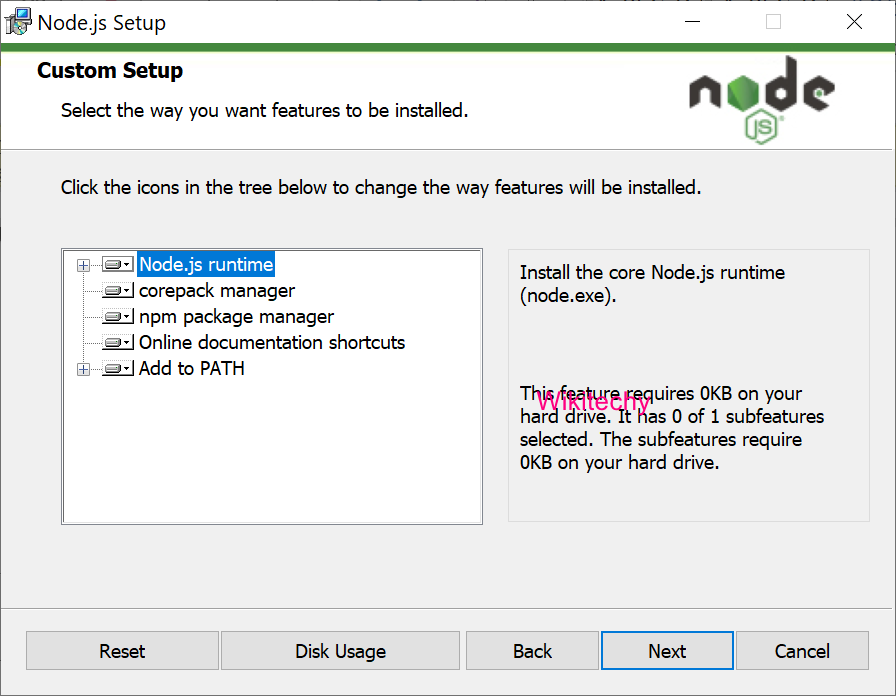
Step 3 - Select the default components to be installed. Accept the default components and click on the Next button.
Step 4 - In the next screen, click the “Next” button to continue with the installation
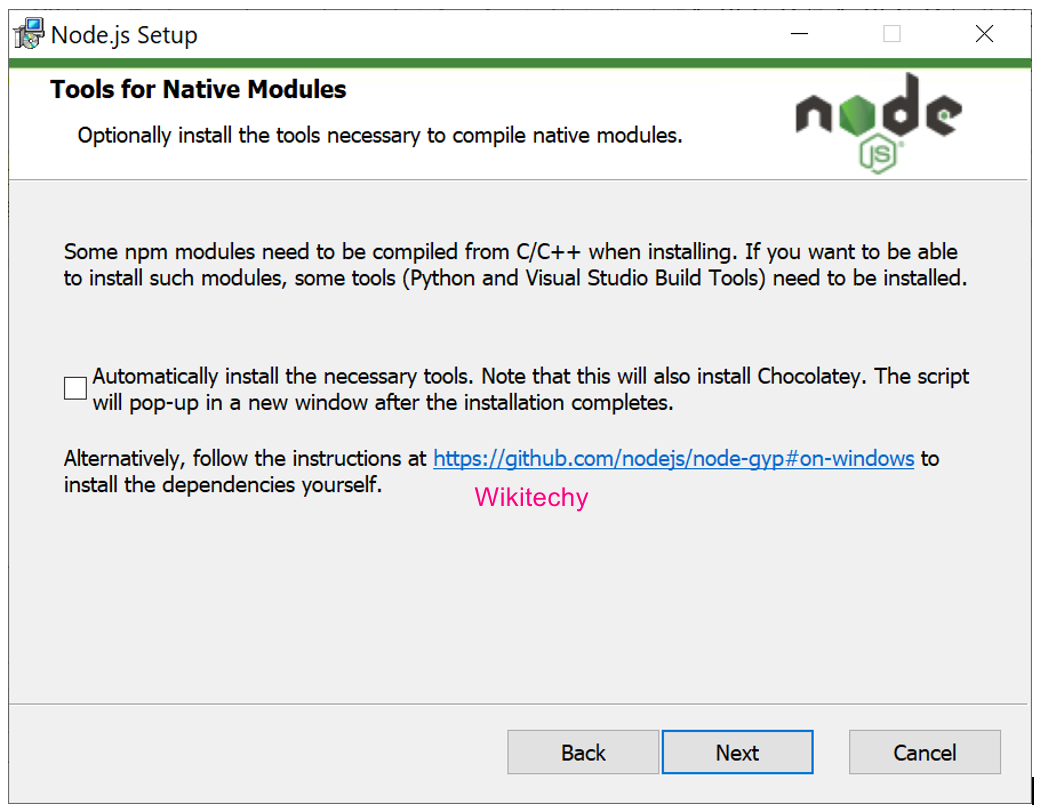
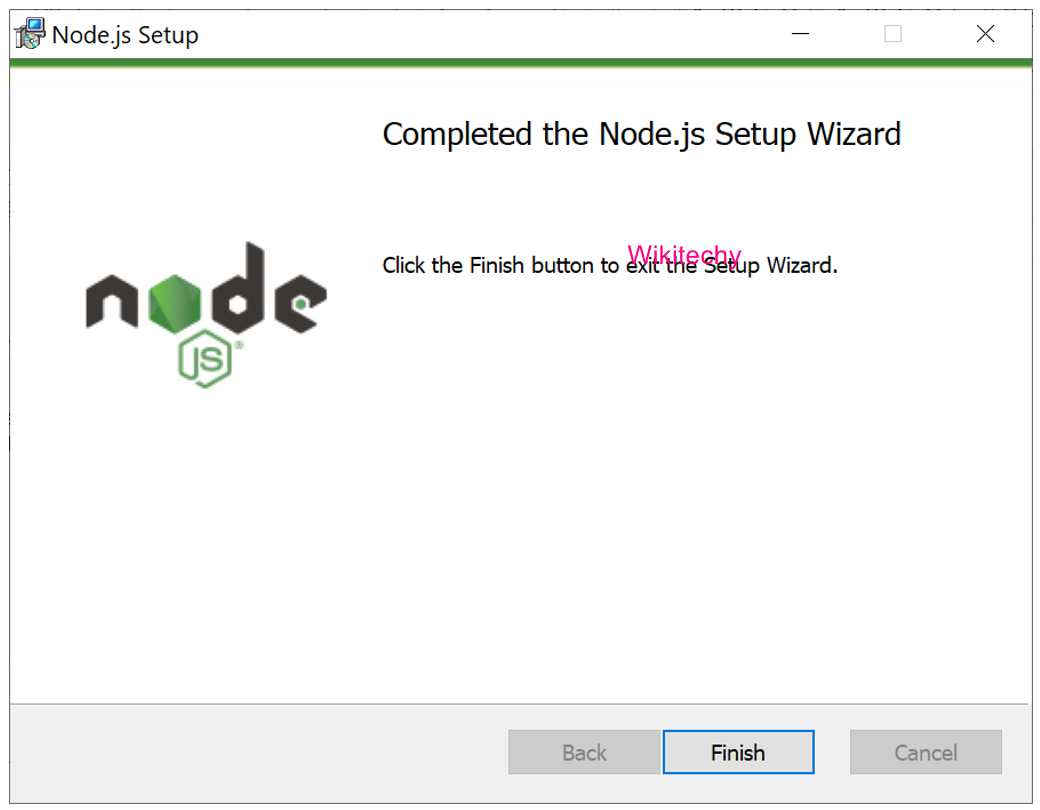
Step 4 - Click the Finish button to complete the installation.
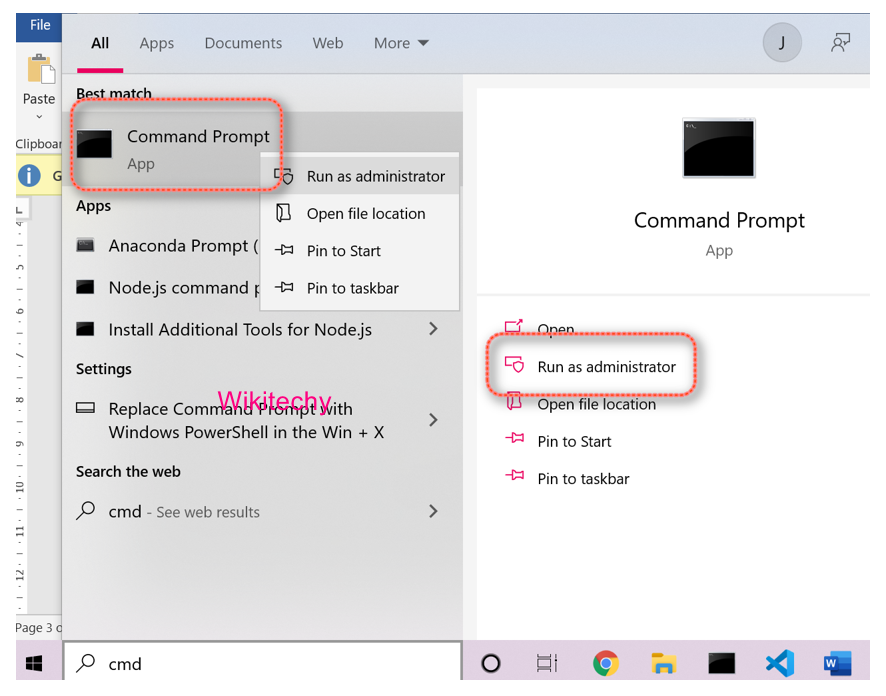
Step 5 - Open a terminal(Windows Command Prompt or PowerShell)
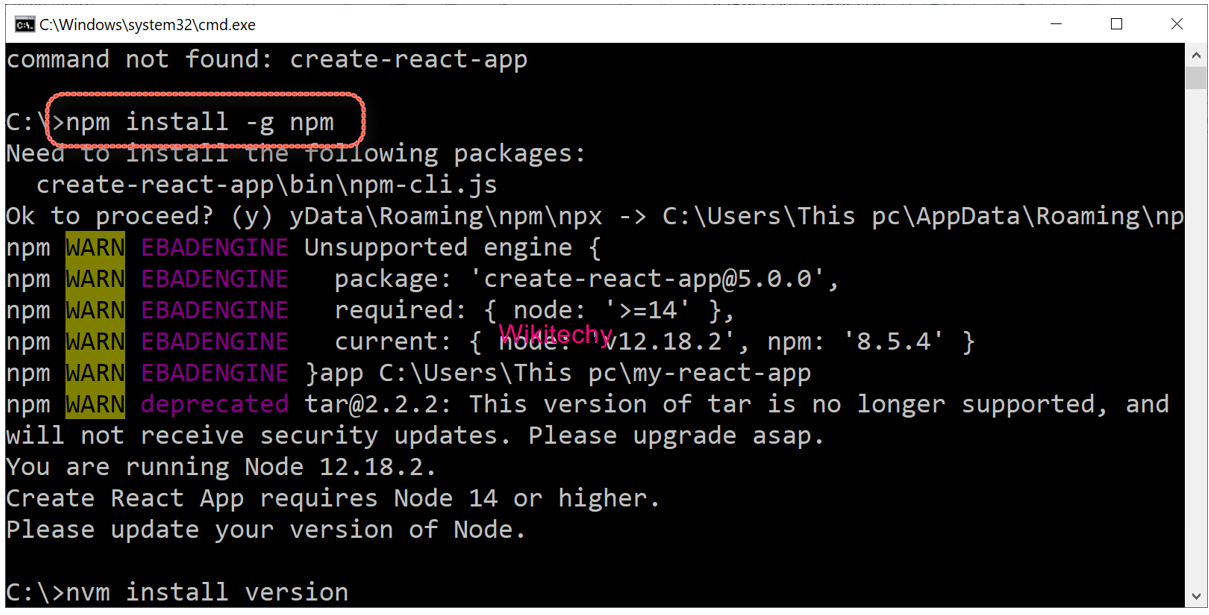
Step 6 - We will need some of the npm plugins so let's first install npm by running the following code in command prompt window.
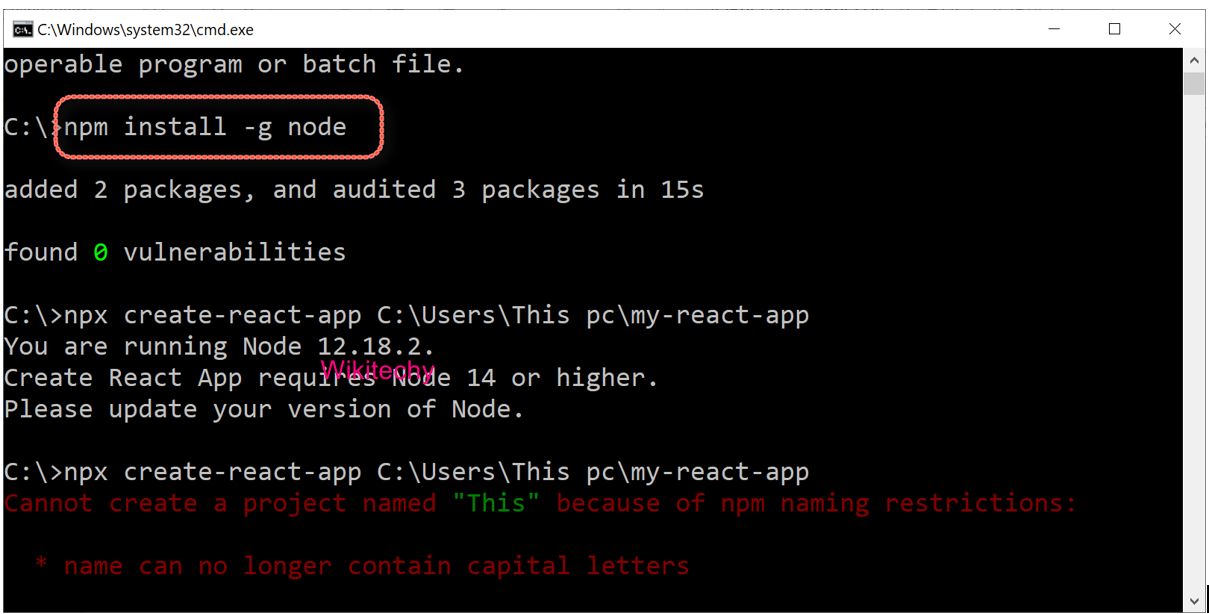
Step 7 - Creating the app in the “local user” folder.

Step 8 - In order to install your app, first go to your workspace (desktop or a folder) and run the following command: npx create-react-app my-app
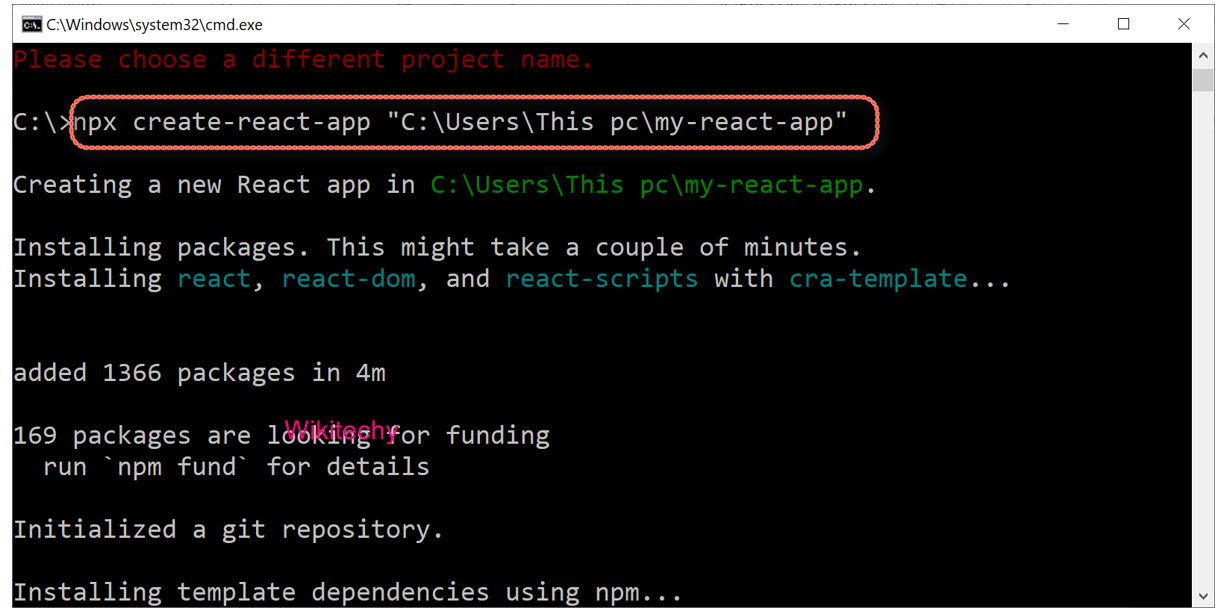
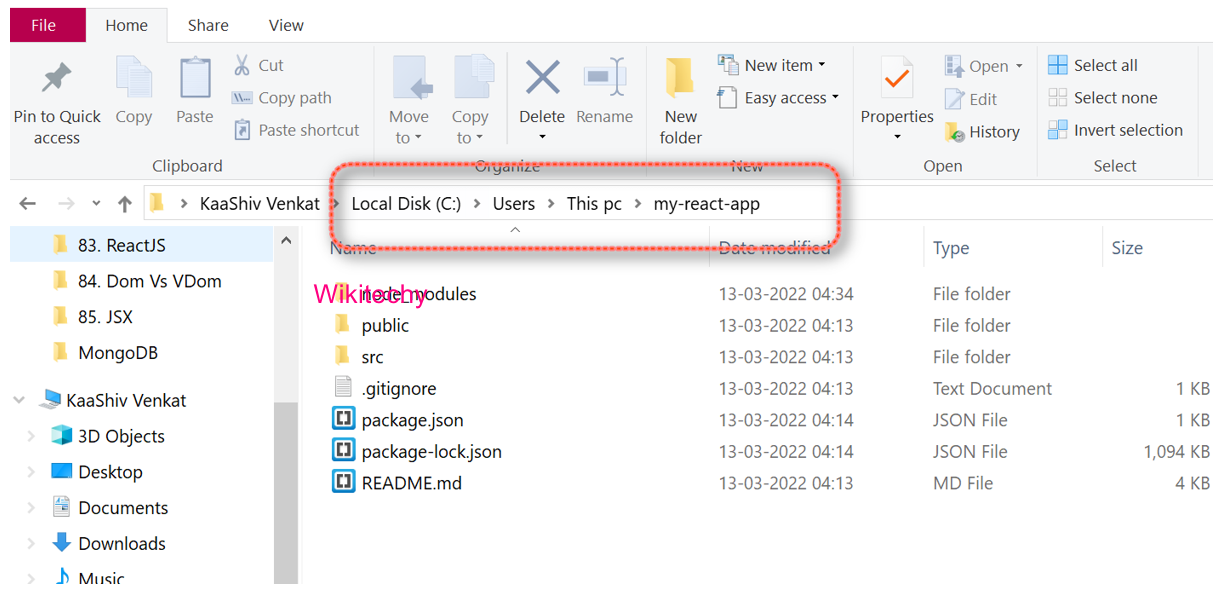
Step 8 - After the folder is created we need to open it and see the following files.
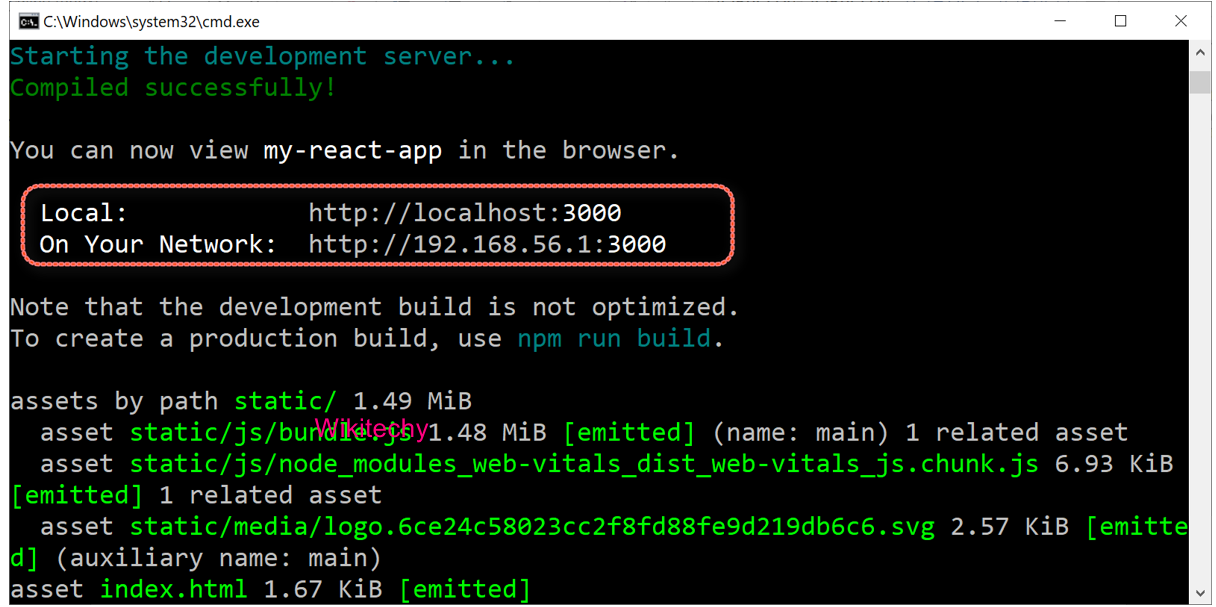
Step 9 - After the installation is completed, change to the directory where your app was installed and finally run npm start to see your app live on localhost:
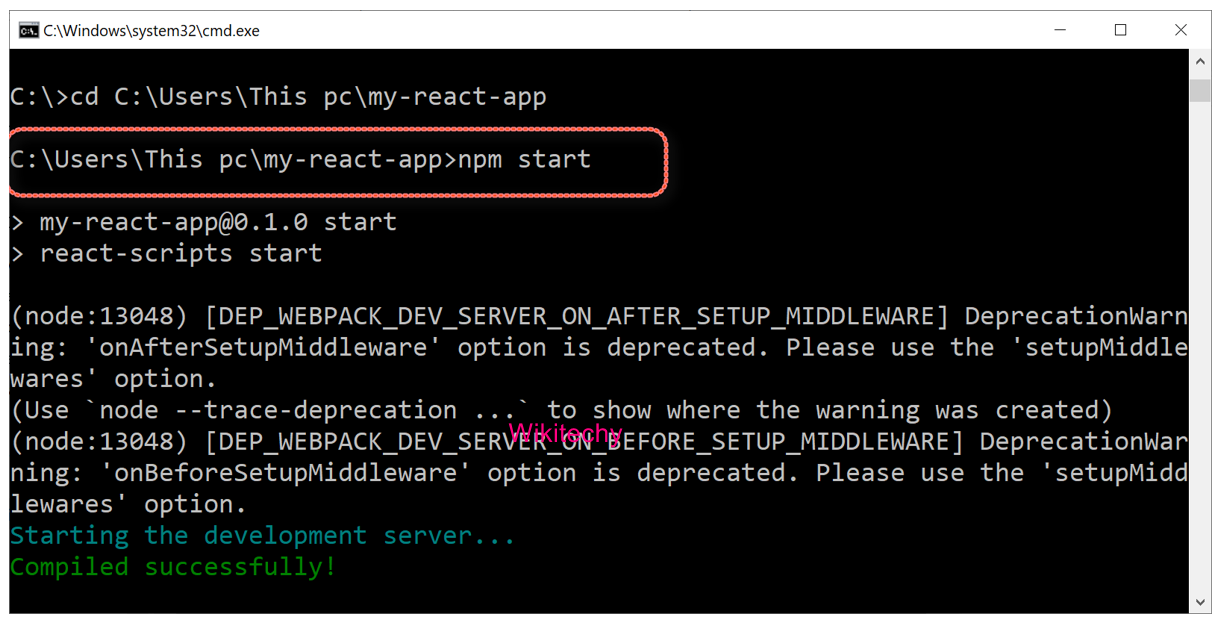
Step 10 - It will show you the port we need to open in browser, in our case http://localhost:3000/.
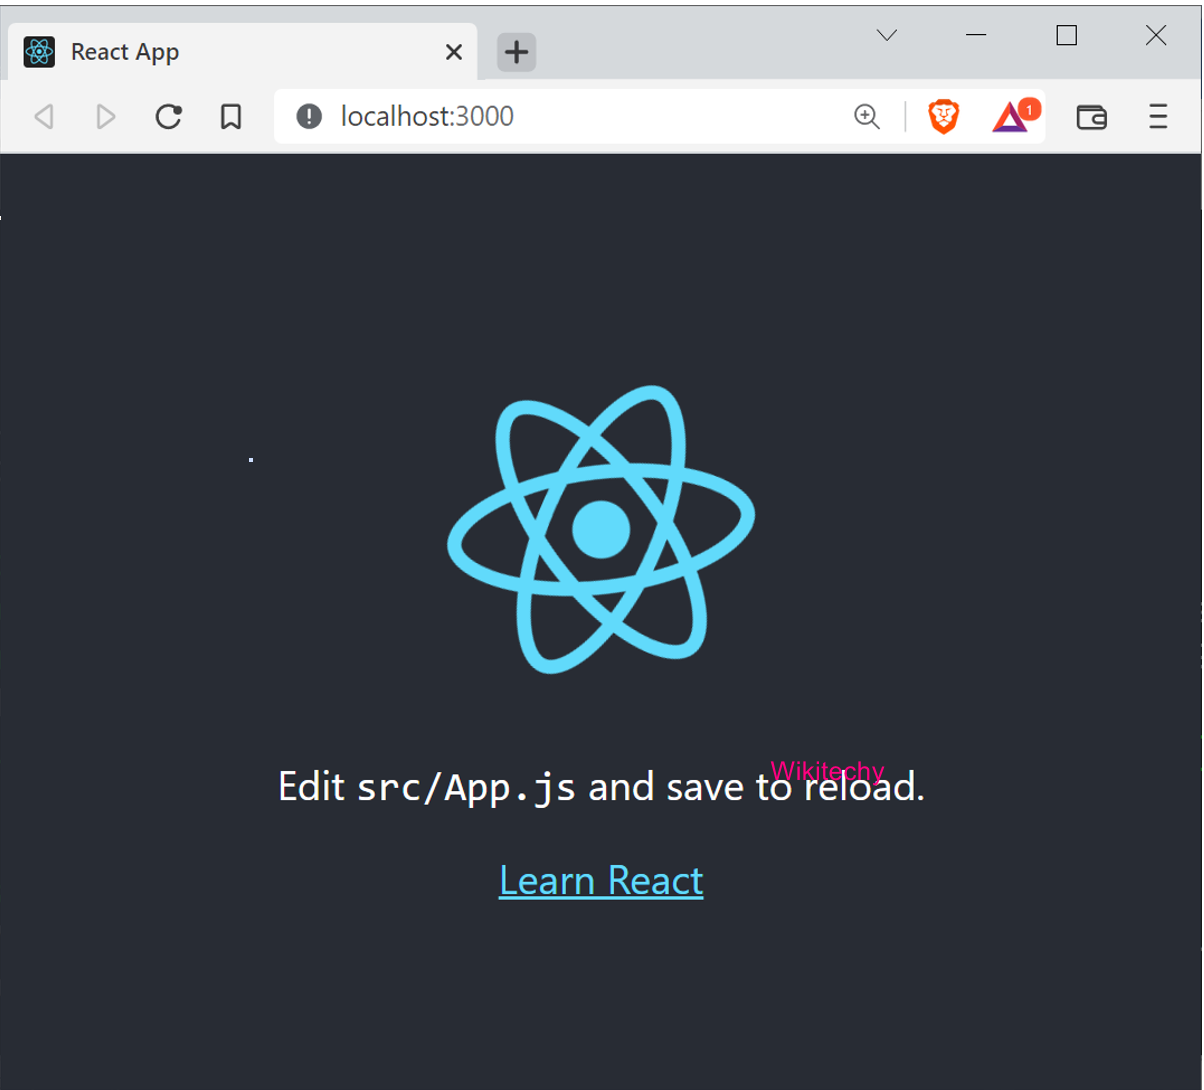
Step 10 - If you see something like this in your browser, you are ready to work with React.
