react - Backend for ReactJS - react js - reactjs
Create React App with an Express Backend
- The majority of front-end JavaScript tools, React is mostly agnostic of what's going on at the server-level. Thus, you can easily use Node.js, Ruby, Python, Go, PHP, or whatever else may pique your interests.
Sample code:
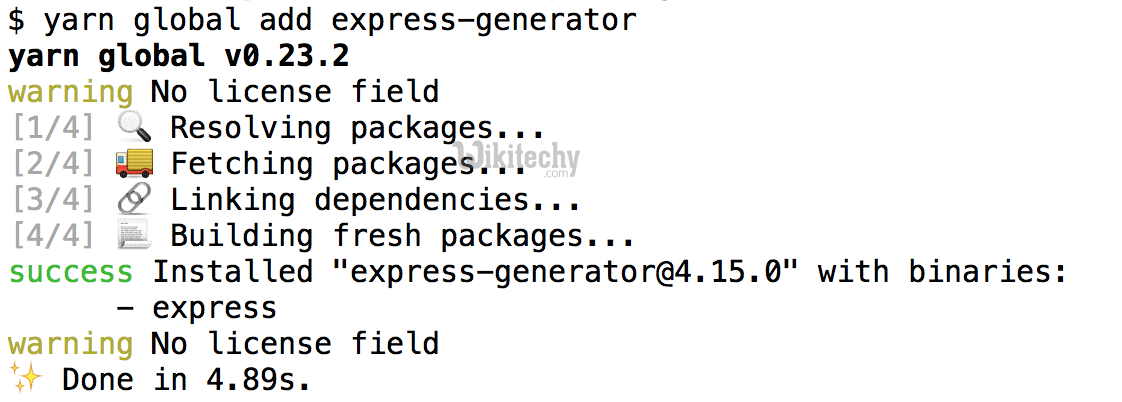
$ npm install -g express-generator
# or:  yarn global add express-generator
click below button to copy the code. By reactjs tutorial team
Learn reactjs - reactjs express - reactjs example
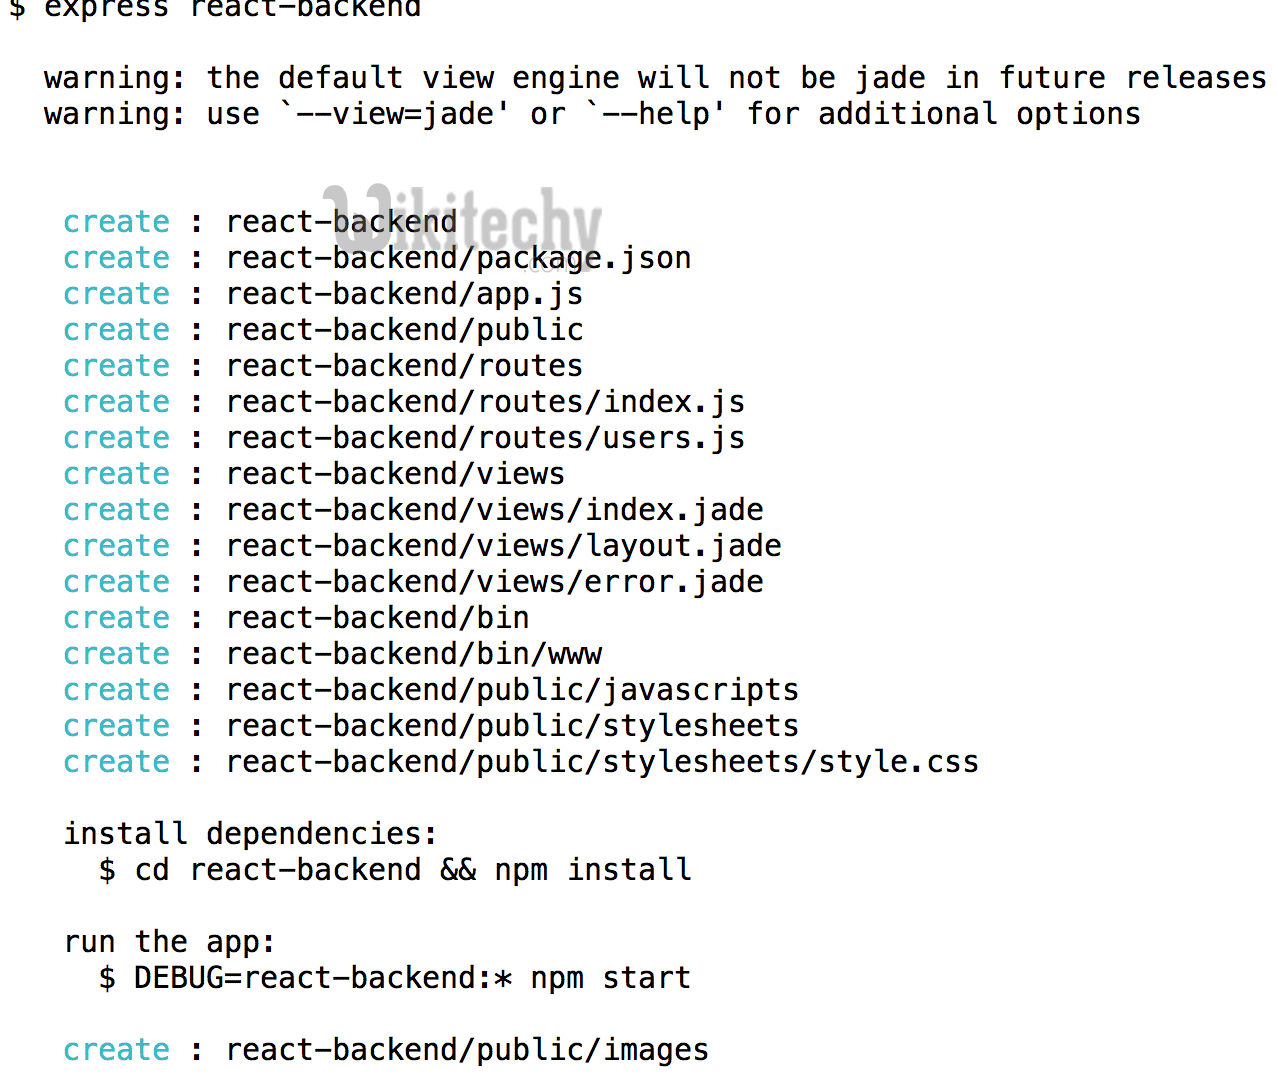
Then run it to create the Express app:
$ express react-backend
click below button to copy the code. By reactjs tutorial team
Learn reactjs - express react backend - reactjs example
- create a react-backend folder.
Article tag : react , react native , react js tutorial , create react app , react tutorial , learn react
install the dependencies:
$ cd react-backend
$ npm install   # or yarn
click below button to copy the code. By reactjs tutorial team
- We can ignore most of the generated files but we’ll edit the react-backend/routes/users.js file as a simple way to return some data. Here’s the change we’ll make:
var express = require('express');
var router = express.Router();
/* GET users listing. */
router.get('/', function(req, res, next) {
	// Comment out this line:
  //res.send('respond with a resource');

  // And insert something like this instead:
  res.json([{
  	id: 1,
  	username: "samsepi0l"
  }, {
  	id: 2,
  	username: "D0loresH4ze"
  }]);
});

module.exports = router;
click below button to copy the code. By reactjs tutorial team
Article tag : react , react native , react js tutorial , create react app , react tutorial , learn react
Start up the app by running this:
$ PORT=3001 node bin/www
click below button to copy the code. By reactjs tutorial team
- Note: The PORT variable: this Express app will default to port 3000, and Create React App will also default to port 3000. To avoid the conflict, start Express on 3001.
Create the React App:
- It doesn’t need to be a subfolder of the Express app, but that’s what we’ll do here to keep things organized.
- First things first, make sure you have create-react-app installed if you don’t already:
npm install -g create-react-app
click below button to copy the code. By reactjs tutorial team
- Then, from inside the react-backend folder, create the React app:
create-react-app client
- This is the key change that will let the React app talk to the Express backend (or any backend).
- Inside the React app’s folder (client), open up package.json (make sure it’s not Express’ package.json - it should have things like “react” and “react-scripts” in it). Under the “scripts” section, add the “proxy” line like this:
"scripts": {
    "start": "react-scripts start",
    "build": "react-scripts build",
    "test": "react-scripts test --env=jsdom",
    "eject": "react-scripts eject"
  },
  "proxy": "http://localhost:3001"
click below button to copy the code. By reactjs tutorial team
- The port (3001) in the “proxy” line must match the port that your Express server is running on.
- Note that this can point to any server. It can be another local backend in Java or Python, or it could be a real server on the internet. Doesn’t matter.
- The way this works is, any time your React app makes a request to something that’s not a static asset (not an image or CSS or index.html, basically), it will forward the request to the server specified in "proxy".
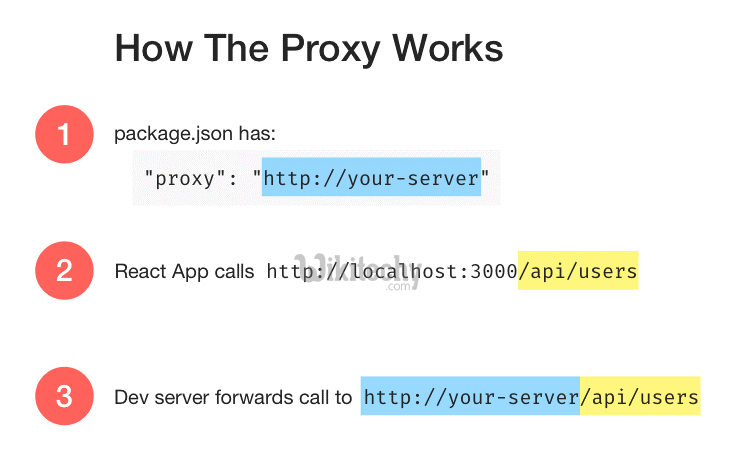
Learn reactjs - react proxy work - reactjs example
- Once this is done, start the React development server by running npm start (or yarn start).
Fetch the Data from React:
- At this point 2 servers are running: Express (on port 3001) and Create React App’s Webpack dev server (on port 3000).
- Let’s make a call to the /users endpoint and make sure the whole pipeline is working.
- Open up client/src/App.js and tweak it to look like this:
import React, { Component } from 'react';
import './App.css';

class App extends Component {
  state = {users: []}

  componentDidMount() {
    fetch('/users')
      .then(res => res.json())
      .then(users => this.setState({ users }));
  }

  render() {
    return (
      <div className="App">
        <h1>Users</h1>
        {this.state.users.map(user =>
          <div key={user.id}>{user.username}</div>
        )}
      </div>
    );
  }
}

export default App;
click below button to copy the code. By reactjs tutorial team
The changes here are:
- Setting an initial state at the top: an empty users array will prevent the this.state.users.map from blowing up before the users are loaded.
- Changed render to render the list of users.
- Added componentDidMount to get the data using fetch, and save them in state.
- Create React App comes with the fetch polyfill built in so you’re all set even if your browser doesn’t natively support it yet.