Laravel Events | Laravel-Event Handling

What is Event Handling in Laravel?
- Event handling is the receipt of an event at some event handler from an event producer and subsequent processes.
- The processes involved in event handling include: Identifying where an event should be forwarded. Making the forward.
- An event is an action or occurrence recognized by a program that may be handled by the program.
- Laravel events simply provide an observer implementation.
Event can be handled by the following steps:
laravel , laravel framework , laravel documentation , laravel tutorial , laravel install , laracasts
Step 1:
- Create an Event class.
- Event class can be created by executing the following command.
php artisan make:event <event-class>
- Here the <event-class> should be replaced with the name of the event class.
- The created class will be stored at app\Events directory.
Step 2:
- Create a handler class to handle the created event.
- Event handler class can be created by executing the following command.
php artisan handler:event <handler-class> --event = <event-class>
- Here the <event-class> should be replaced with the name of the event class that we have created in step-1 and the <handler-class> should be replaced with the name of the handler class.
- The newly created handler class will be stored at app\Handlers\Events directory.
laravel , laravel framework , laravel documentation , laravel tutorial , laravel install , laracasts
Step 3:
- Register the Event class and its handler in EventServiceProvider class.
- We now need to register the event and its handler class in app\Providers\EventServiceProvier.php file.
- This file contains an array called $listen.
- In this array, we need to add event class as key and event handler class as its value.
Step 4:
- Fire the event.
- Last step is to fire the event with Event facade. fire() method hsould be called which takes object of the event class.
Event can be fired as shown below:
Event::fire(<Event Class Object>);
- <Event Class Object> should be replaced with the object of the event class.
Example:
Step 1:
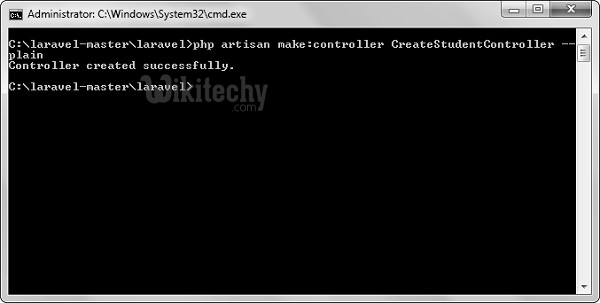
- Create a controller called CreateStudentController by executing the following command.
php artisan make:controller CreateStudentController --plain
laravel , laravel framework , laravel documentation , laravel tutorial , laravel install , laracasts
Step 2:
- After successful execution, you will receive the following output -
Step 3:
- Copy the following code in app/Http/Controllers/CreateStudentController.php file.
<?php
namespace App\Http\Controllers;
use Illuminate\Http\Request;
use DB;
use App\Http\Requests;
use App\Http\Controllers\Controller;
use App\Events\StudentAdded;
use Event;

class CreateStudentController extends Controller {
   public function insertform(){
      return view('stud_add');
   }

   public function insert(Request $request){
      $name = $request->input('stud_name');
      DB::insert('insert into student (name) values(?)',[$name]);
      echo "Record inserted successfully.<br/>";
      echo '<a href = "/event">Click Here</a> to go back.';

      //firing an event
      Event::fire(new StudentAdded($name));
   }
}
laravel , laravel framework , laravel documentation , laravel tutorial , laravel install , laracasts
Step 4:
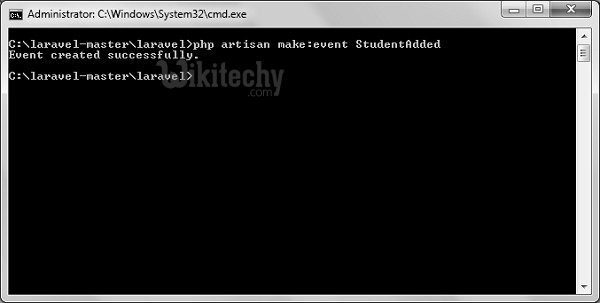
- Create an event called StudentAdded by executing the following command.
php artisan make:event StudentAdded
Step 5:
- After successful execution, you will receive the following output −
Step 6:
- The above command will create an event file at App\Events\StudentAdded.php. Copy the following code in that file.
App\Events\StudentAdded.php
<?php
namespace App\Events;
use App\Events\Event;
use Illuminate\Queue\SerializesModels;
use Illuminate\Contracts\Broadcasting\ShouldBroadcast;

class StudentAdded extends Event {
   use SerializesModels;
   public $name;

   public function __construct($name) {
      $this->name = $name;
   }
   public function broadcastOn() {
      return [];
   }
}
Step 7:
- Create an event handler called HandleNewStudentAdded by executing the following command.
php artisan handler:event HandlerNewStudentAdded --event = StudentAdded
Step 8:
- After successful execution, you will receive the following output −

laravel , laravel framework , laravel documentation , laravel tutorial , laravel install , laracasts
Step 9:
- The above command will create an event handler file at app\Handlers\Events\HandleNewStudentAdded.php. Copy the following code in that file.
app\Handlers\Events\HandleNewStudentAdded.php
<?php
namespace App\Handlers\Events;
use App\Events\StudentAdded;
use Illuminate\Queue\InteractsWithQueue;
use Illuminate\Contracts\Queue\ShouldQueue;

class HandleNewStudentAdded {
   protected $name;

   public function __construct() {
      //
   }
   public function handle(StudentAdded $event) {
      $this->name = $event->name;
      echo "<br>New Student added in database with name: ".$this->name;
   }
}
Step 10:
- We now need to add the event class and its handler class in a file stored at app\Providers\EventServiceProvider.php.
- Notice the line in bold font and add that line in the file.
app\Providers\EventServiceProvider.php
<?php
namespace App\Providers;
use Illuminate\Contracts\Events\Dispatcher as DispatcherContract;
use Illuminate\Foundation\Support\Providers\EventServiceProvider as ServiceProvider;

class EventServiceProvider extends ServiceProvider {
   /**
   * The event listener mappings for the application.
   *
   * @var array
   */
   protected $listen = [
      'App\Events\SomeEvent' => [
         'App\Listeners\EventListener',
      ],

      'App\Events\StudentAdded' => [
         'App\Handlers\Events\HandleNewStudentAdded',
      ],
   ];
   /**
   * Register any other events for your application.
   *
   * @param \Illuminate\Contracts\Events\Dispatcher $events
   * @return void
   */
   public function boot(DispatcherContract $events) {
      parent::boot($events);
      //
   }
Step 11 :
- Add the following lines in app/Http/routes.php.
app/Http/routes.php
Route::get('event','CreateStudentController@insertform');
Route::post('addstudent','CreateStudentController@insert');
laravel , laravel framework , laravel documentation , laravel tutorial , laravel install , laracasts
Step 12:
- Visit the following URL to test the event.
- http://localhost:8000/event
laravel , laravel framework , laravel documentation , laravel tutorial , laravel install , laracasts
Step 13:
- After visiting the above URL, you will receive the following output −
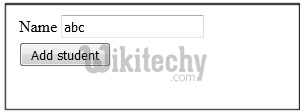
Step 14:
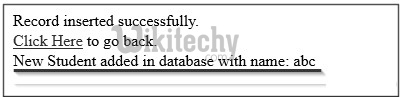
- Add the name of student and click the “Add student” button which will redirect you to the below screen. Look at the line highlighted in gray color.
- We have added this line in our handle method of HandleNewStudentAdded class which indicates that statements are executed in handle method when an event is fired.