How to setup ExtJS environment
How to setup ExtJS environment
Ext JS, you are required to set up a development environment. There are three essential things for Ext JS application development such as, Sencha SDK, IDE (Integrated Development Environment), and a Web server.
Download Library files
For downloading the trial version of the Ext JS library files you need to follow the below steps:
Step 1
- You can use the following link www.sencha.com/products/download, and you will get the following window:
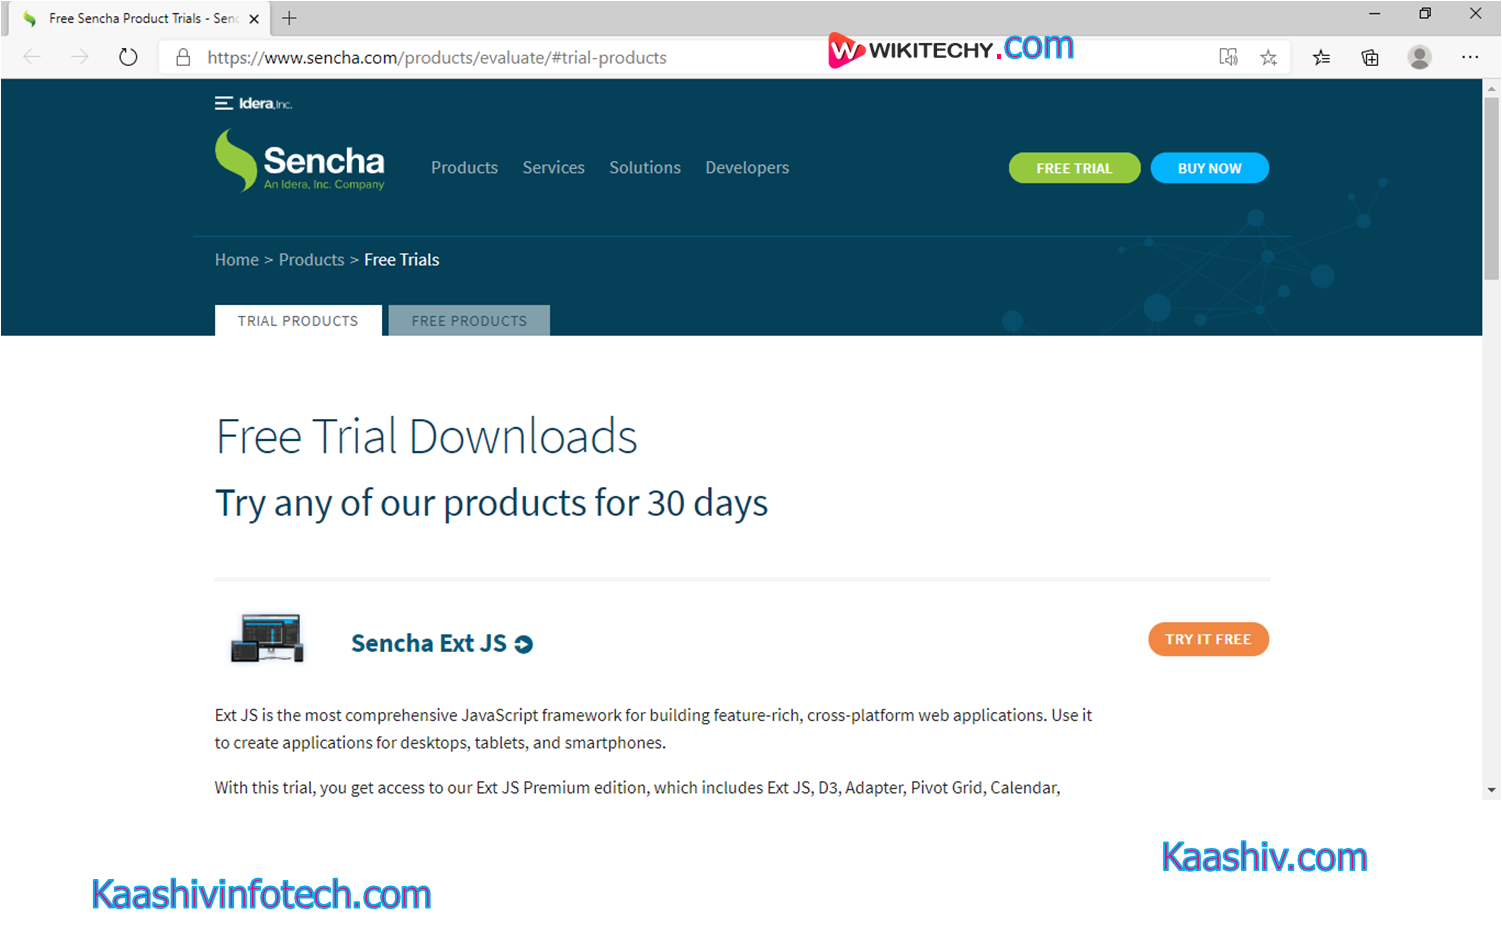
Step 2
- You will click on the Try It Free button shown in the above screenshot. After clicking on the button, you will get the following screen:
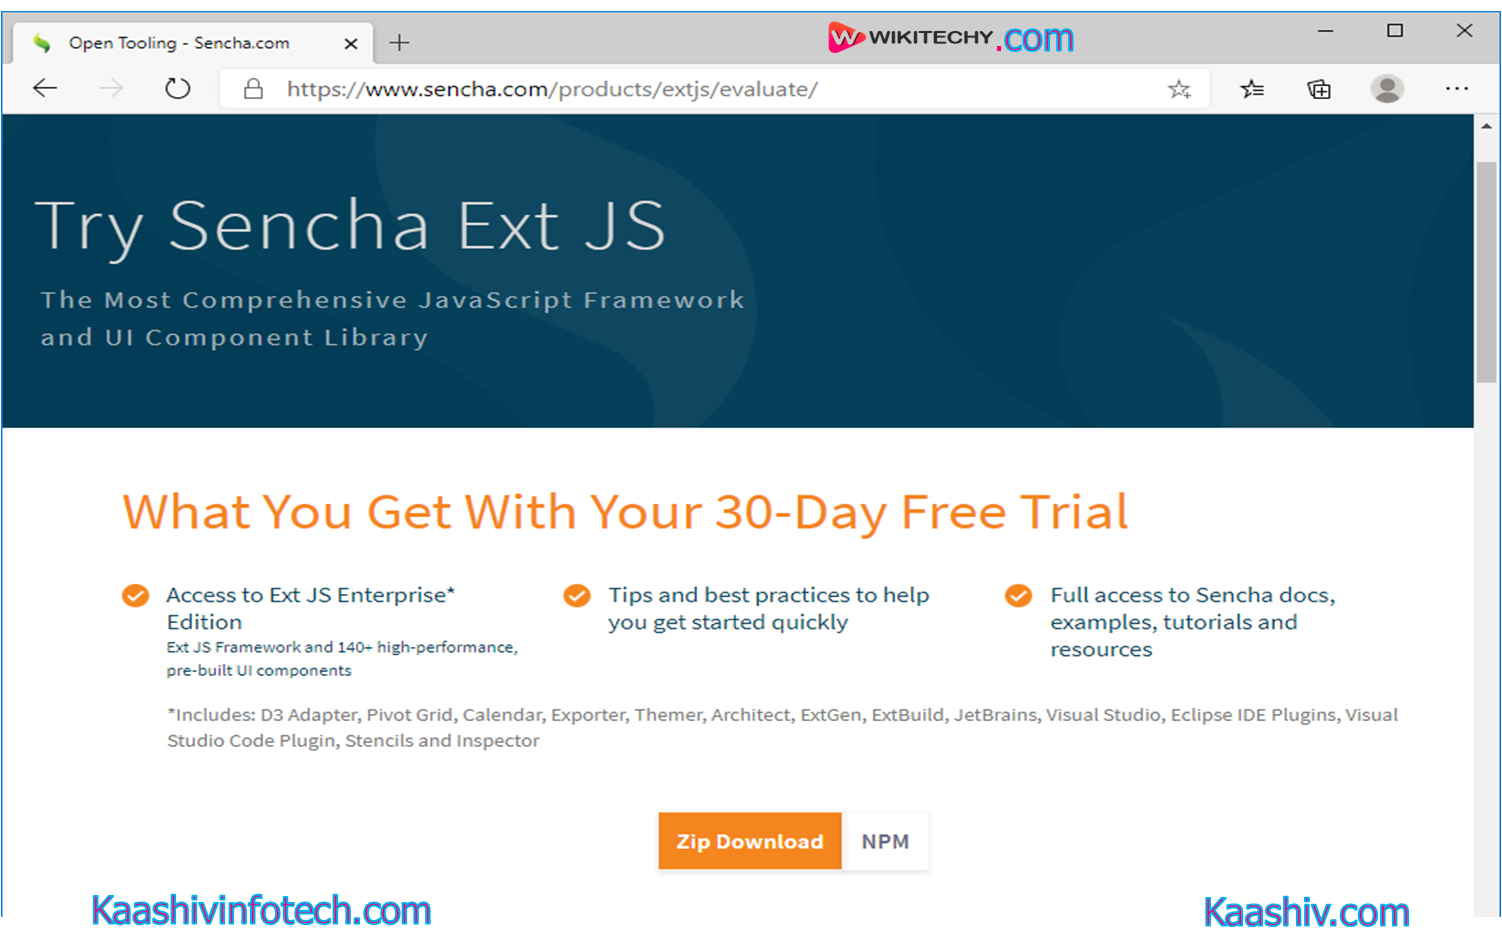
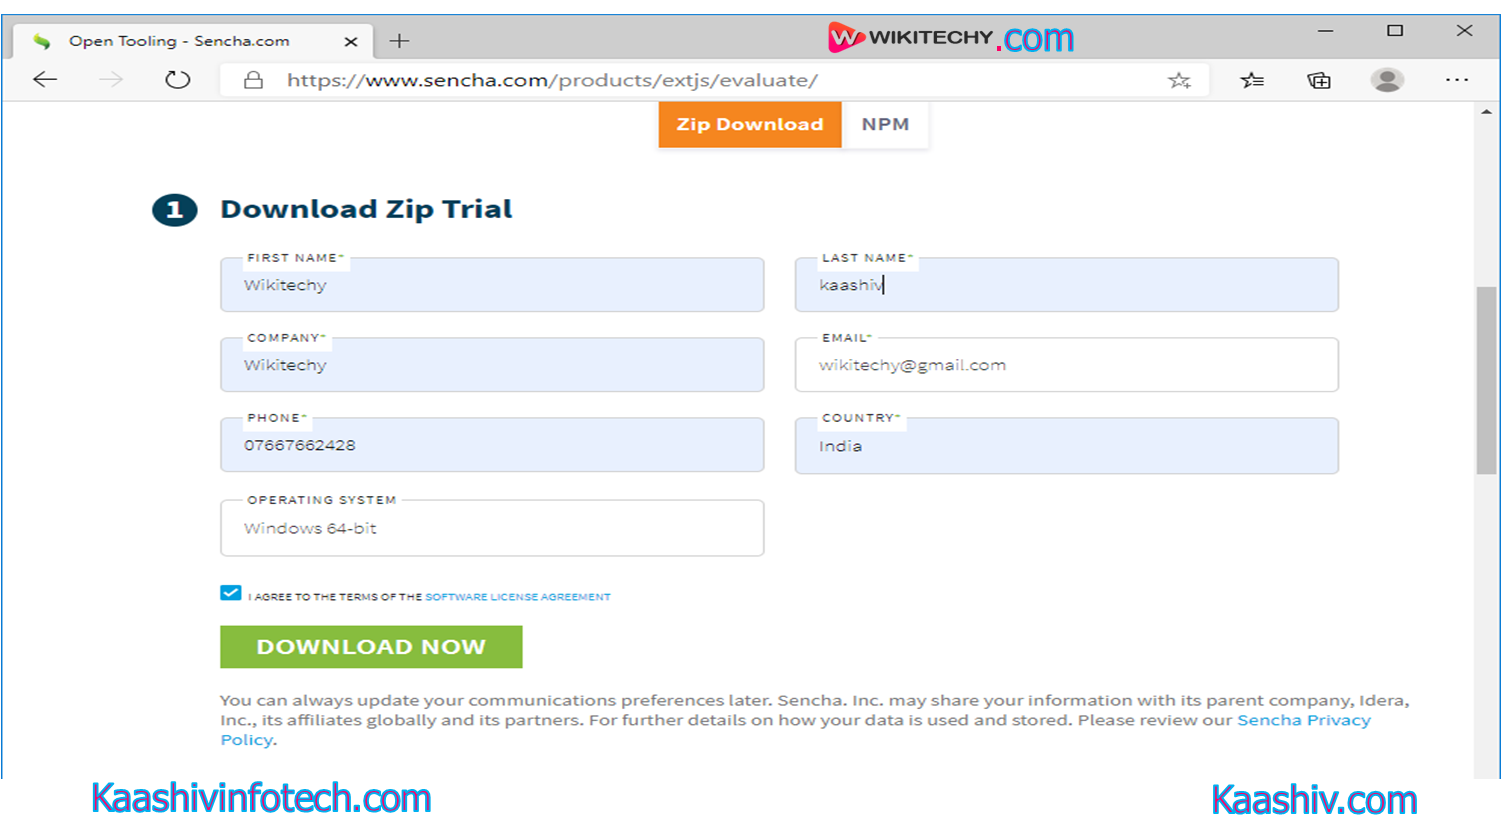
Step 3
- After filling the required details, to click on Download Now, and your library files start downloading, as shown below:
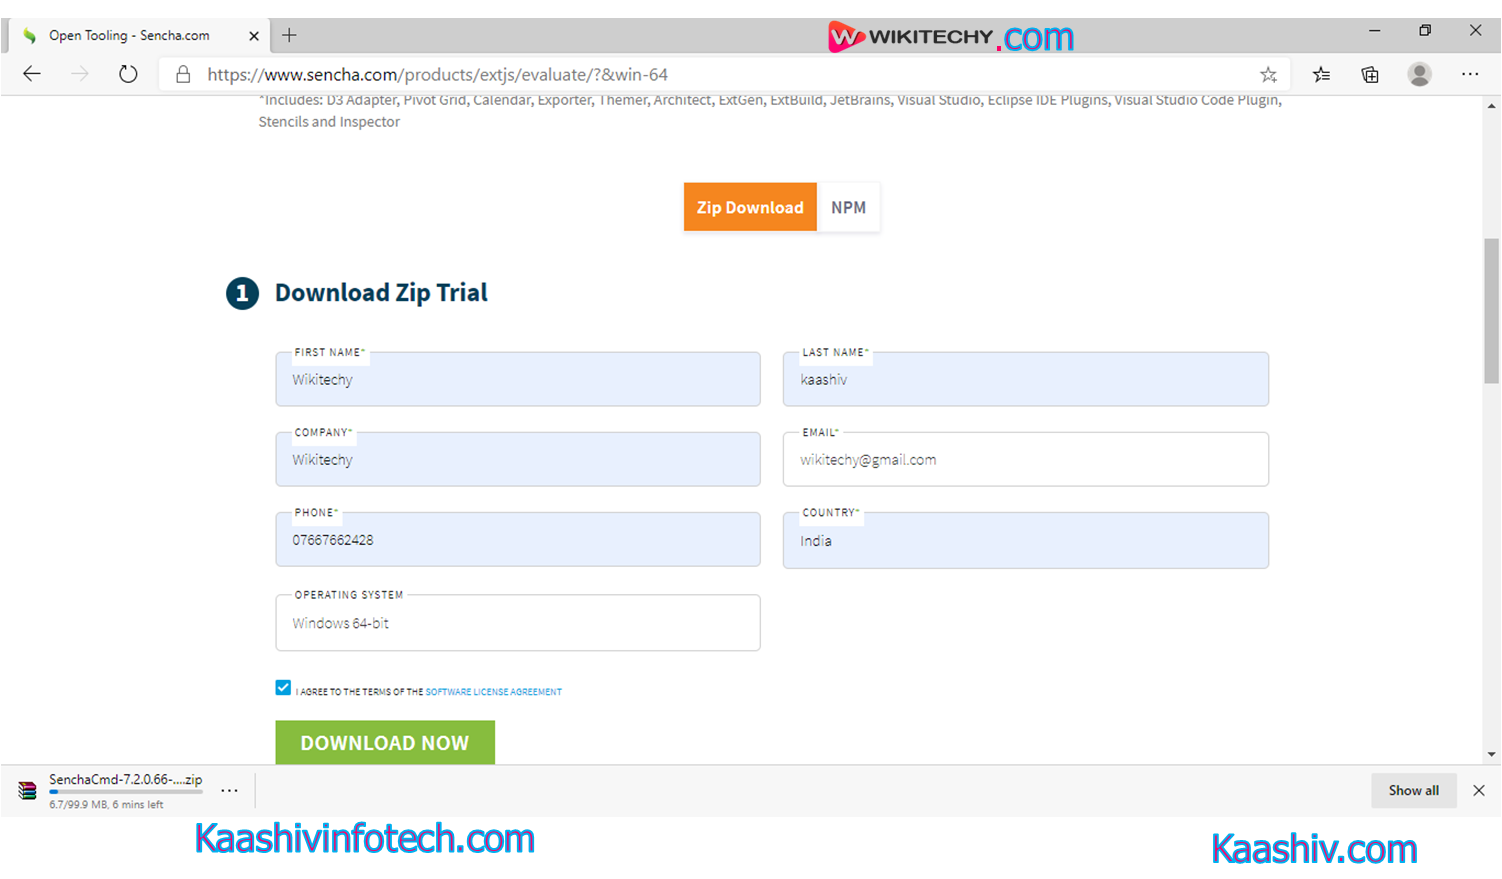
Step 4
- The downloaded folder is a zip folder. You need to unzip the folder, and you will get the various CSS and JavaScript files.
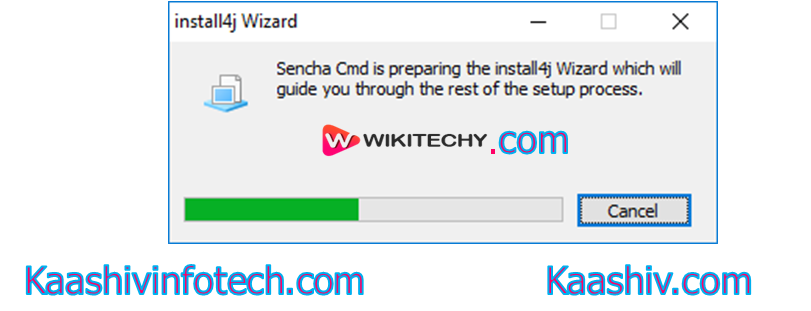
Step 5
- After unzipping the folder, you are required to click on the .exe file, and the installation process will be started, as shown in the below snippet:
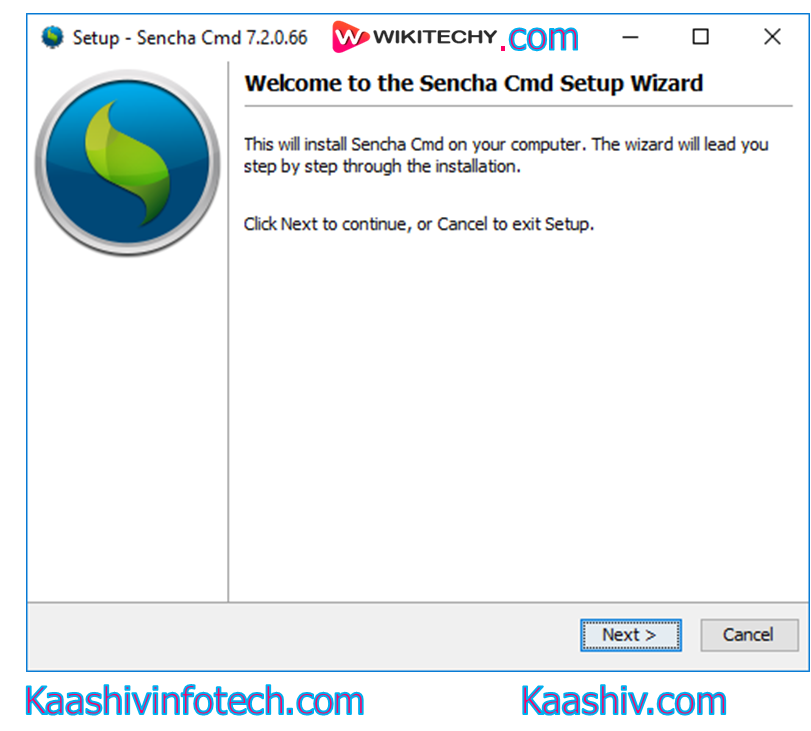
Step 6
- After the installation finished you will get the following window, You need to click on the Next button, and you will get the following screenshot:
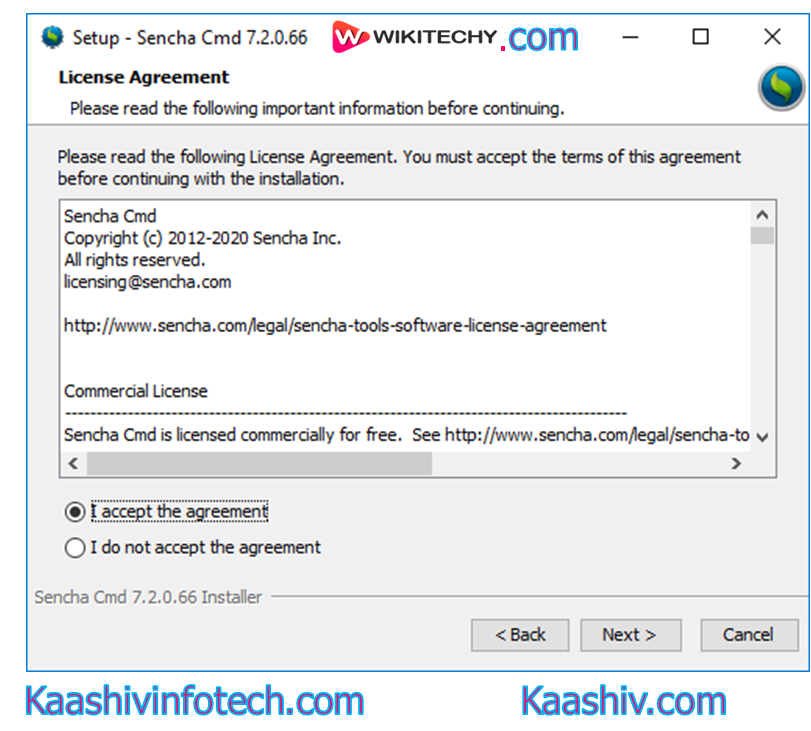
Step 7
- Now, select the "I accept the agreement "and then click on the Next button, and you will get the following snippet:
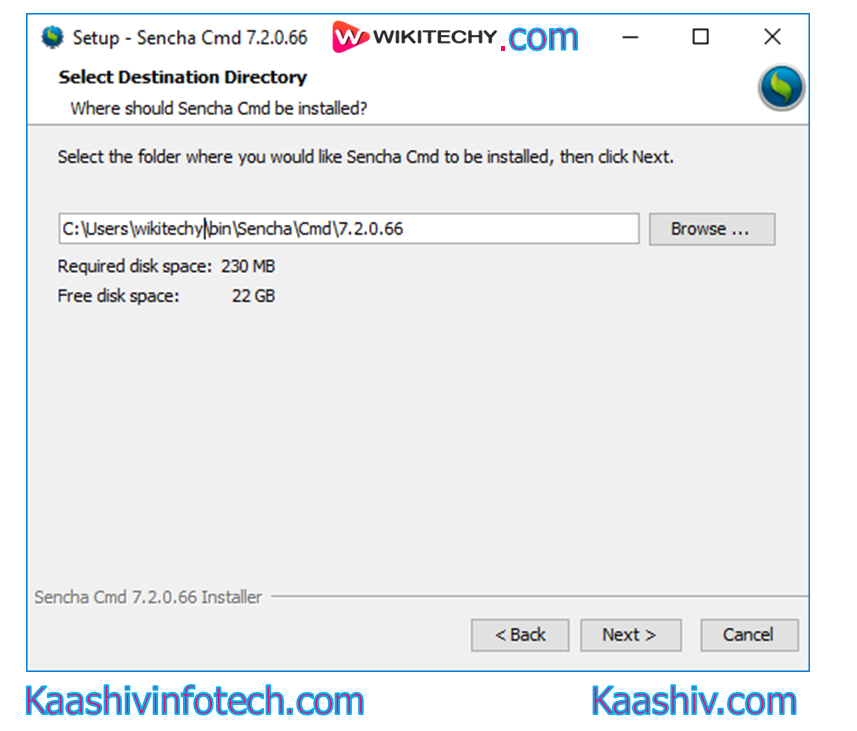
Step 8
- You need to select the path to install Ext JS library files. By default, it will be installed in the C drive. You can also change the location by clicking on the Browse button and then click on the Next button.
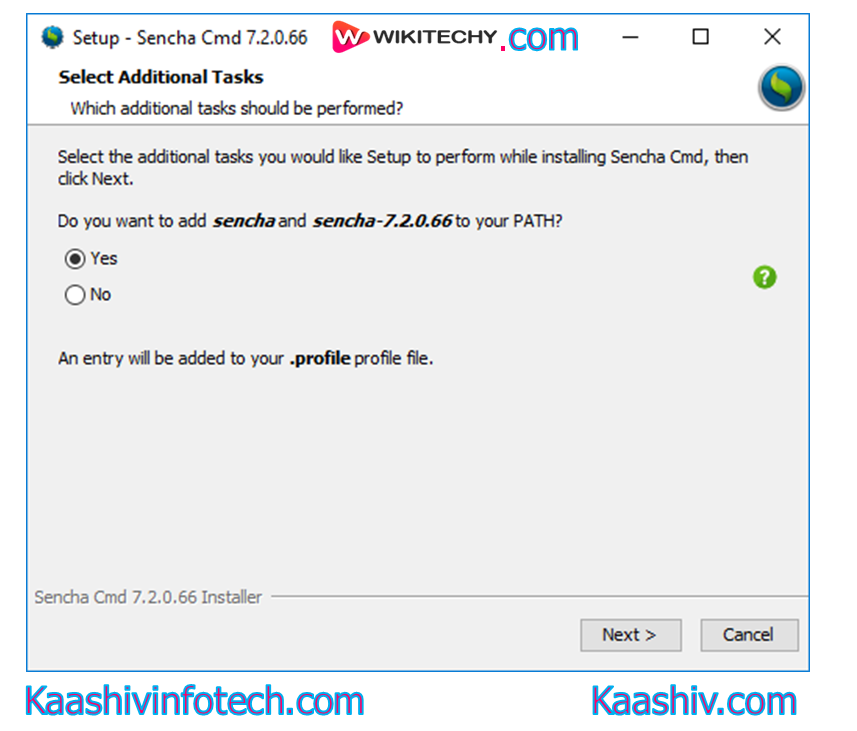
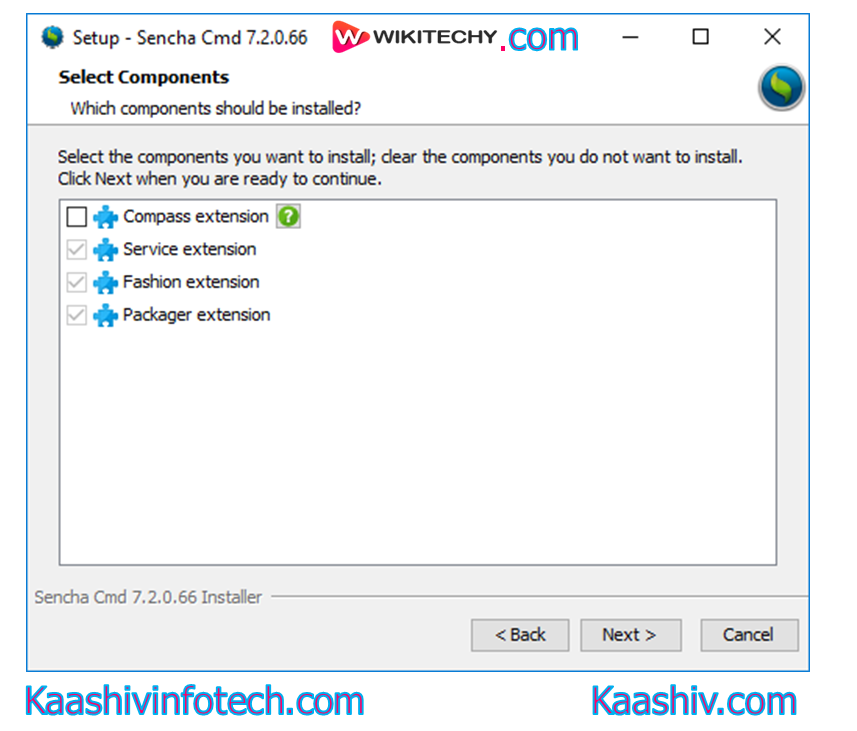
Step 9
- As shown in the above screenshot, you will be required to select the components which you want to install. After selecting the components, click on the Next button, and you will get the following screen:
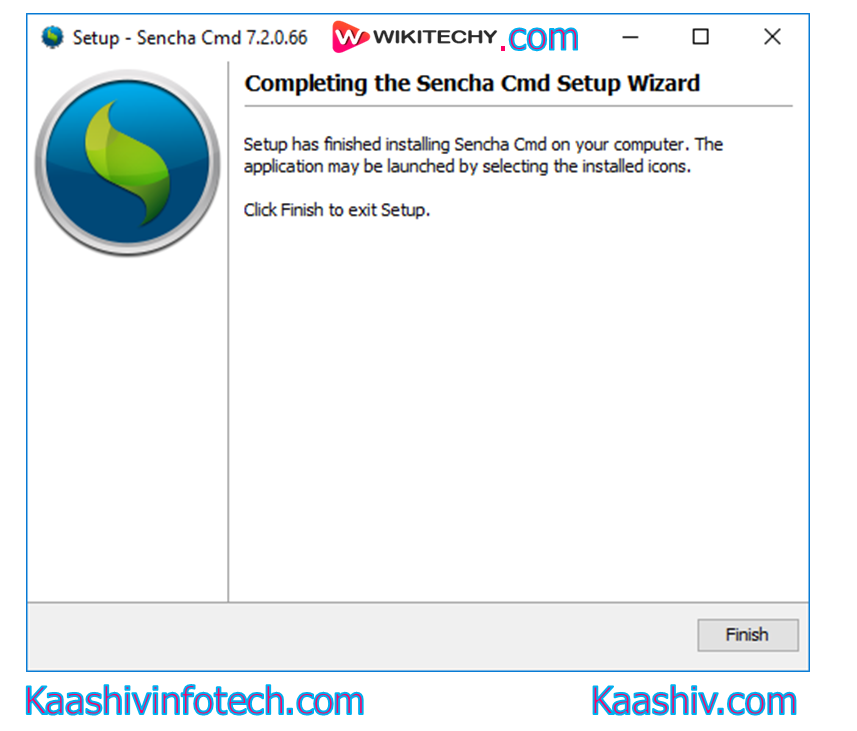
Step 10
- After the completion of the installation, click on Finish to complete the process.