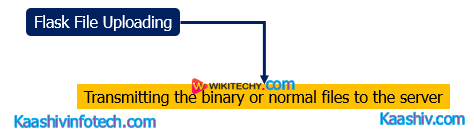
Flask File Uploading
Flask File Upload
- It is the process of transmitting the binary or normal files to the server. The uploaded file is saved to the temporary directory of the server for a while before it is saved to some desired location.
Syntax
name = request.files['file'].filename
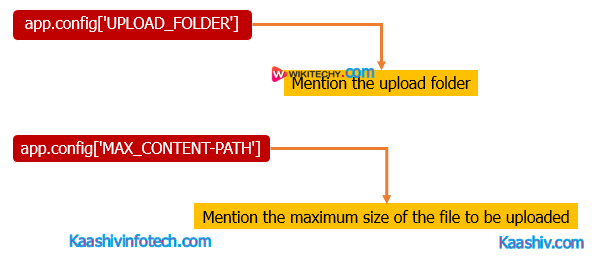
Flask File Config
app.config['UPLOAD_FOLDER']
- It is used to mention the upload folder.
app.config['MAX_CONTENT-PATH']
- It is used to mention the maximum size of the file to be uploaded.
To upload a file from the local file system to the server.
Sample code
- In this code, we will provide a file selector(file_upload_form.html) to the user where the user can select a file from the file system and submit it to the server.
- At the server side, the file is fetched using the request.files['file'] object and saved to the location on the server.
Read Also
upload.py
from flask import *
app = Flask(__name__)
 @app.route('/')
def upload():
   return render_template("file_upload_form.html")
 @app.route('/success', methods = ['POST'])
def success():
    if request.method == 'POST':
        f = request.files['file']
        f.save(f.filename)
      return render_template("success.html", name = f.filename)
  if __name__ == '__main__':
    app.run(debug = True)
file_upload_form.html
<html>
<head>
    <title>upload</title>
</head>
<body>
    <form action = "/success" method = "post" enctype="multipart/form-data">
        <input type="file" name="file" />
        <input type = "submit" value="Upload">
    </form>
</body>
</html>
success.html
<html>
<head>
<title>success</title>
</head>
<body>
<p>File uploaded successfully</p>
<p>File Name: {{name}}</p>
</body>
</html>
Output
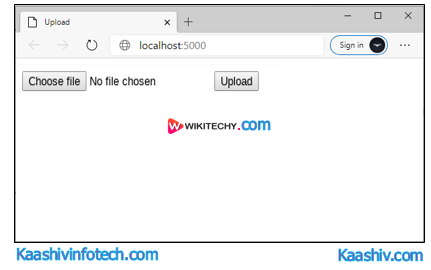
Flask File Upload
- The user has chosen a file named as logo.jpg. It will be upload to the server.

Flask File Upload to server
- The below snapshot is generated for the URL localhost:5000/success. On successfully uploading the file

Flask File Sucess
- To check the directory where the upload.py is located as given in the below image.
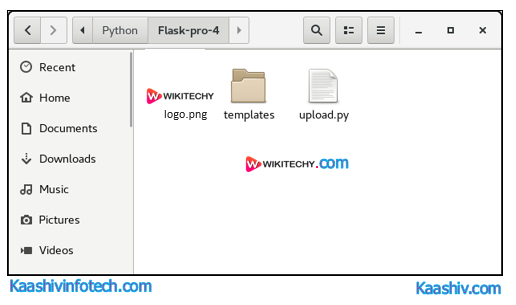
Flask File Directory
If you want to learn about Python Course , you can refer the following links Python Training in Chennai , Machine Learning Training in Chennai , Data Science Training in Chennai , Artificial Intelligence Training in Chennai