How to Download and Install sql server 2017
Install SQL server 2017
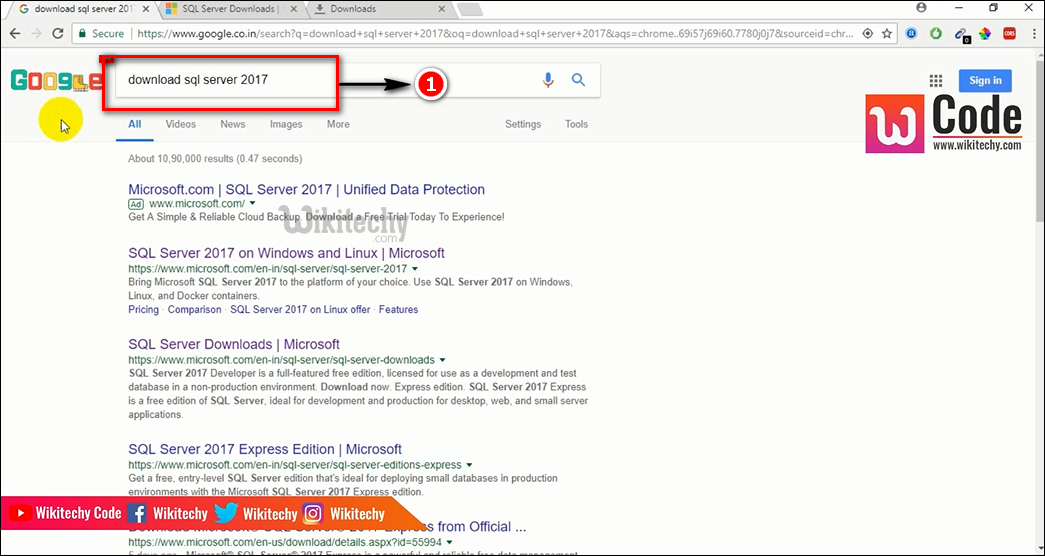
STEP 1:
- Go to google and search for download SQL Server 2017.
Download sql server
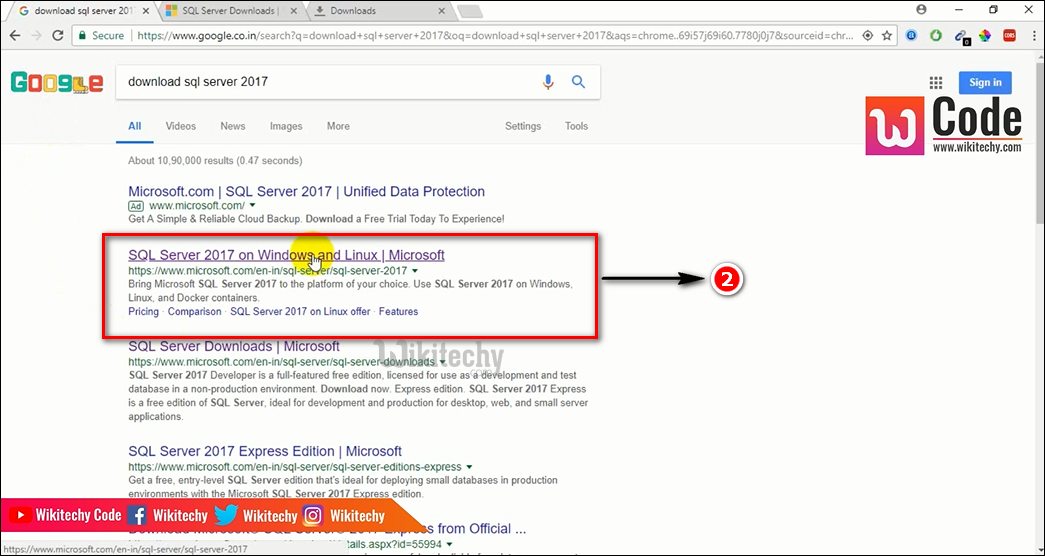
STEP 2:
- Click the second link, SQL Server 2017 on Windows and Linux| Microsoft.
Download sql server link
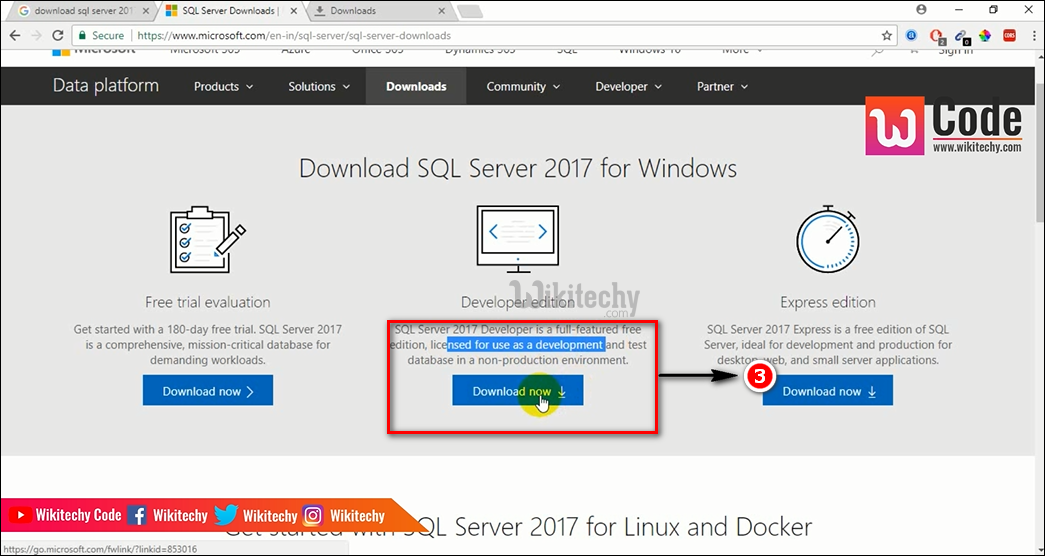
STEP 3:
- Now you will get Download SQL Server 2017 for windows page.
- There will be 3 options as displayed below.
- Click Download now option for Developer edition.
download now
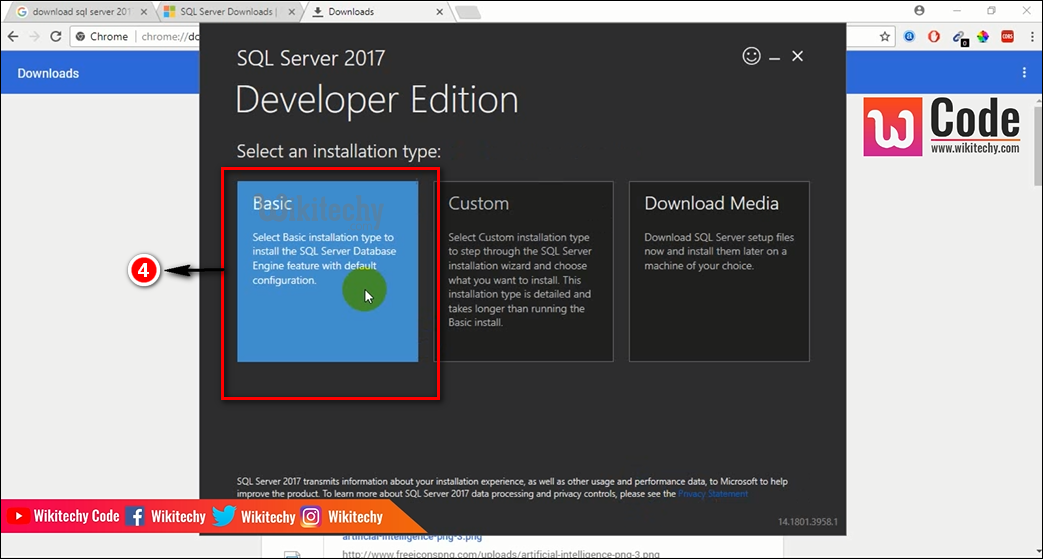
STEP 4:
- SQL Server 2017 Developer edition will start to download.
- Now go to download history and Run the exe for SQL Server 2017
- SQL Server 2017 Developer edition window will be displayed as shown below.
- 3 installation type will be shown i.e Basic,custom and download media.
- Click the 1st option Basic.
basic option
STEP 5:
- Click Accept button.

Click Accept button
STEP 6:
- Click the Install button.

sql server install
STEP 7:
- The following window will get displayed for Downloading install package.
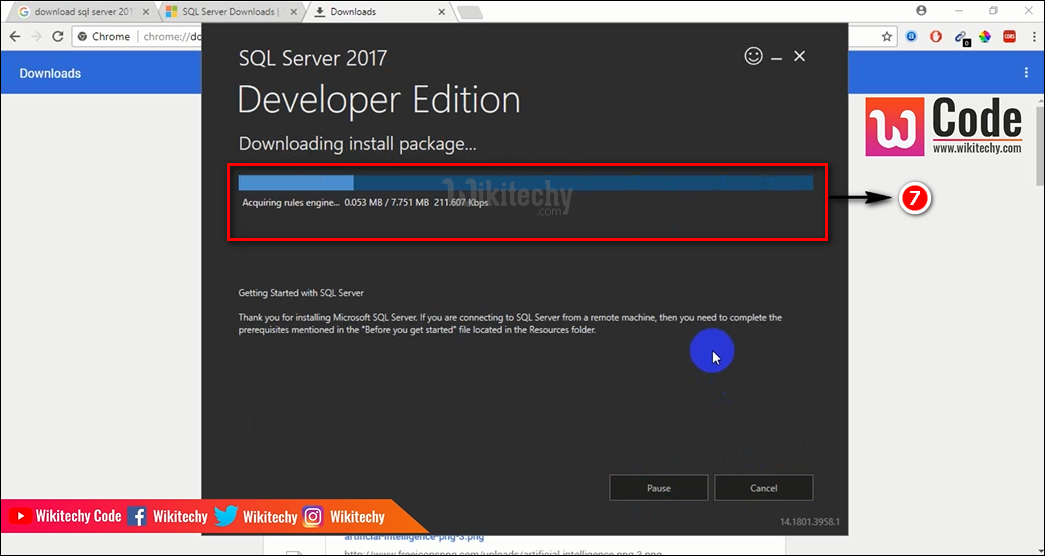
installation window
STEP 8:
- After downloading the install package then SQL Server starts to install automatically.
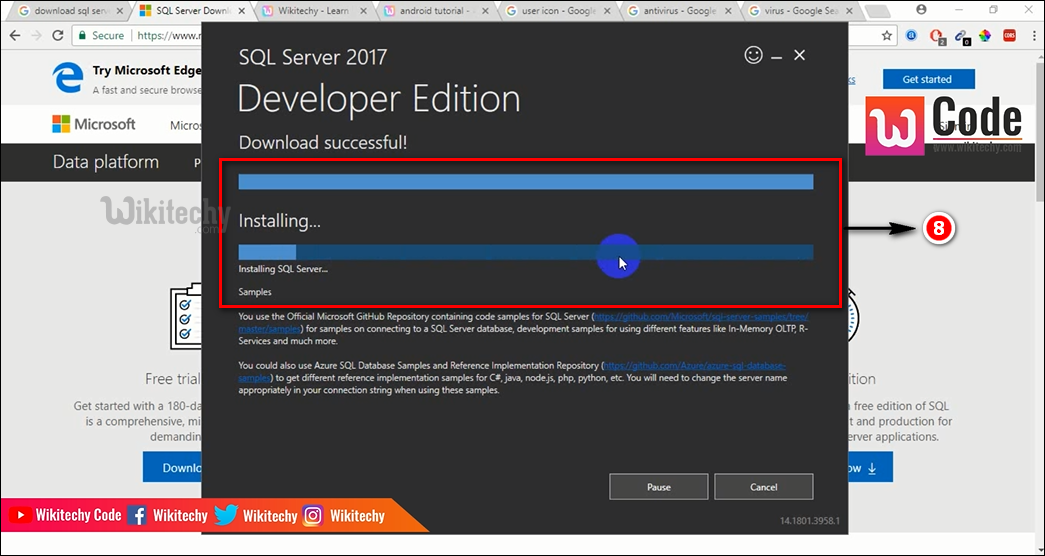
sql server started
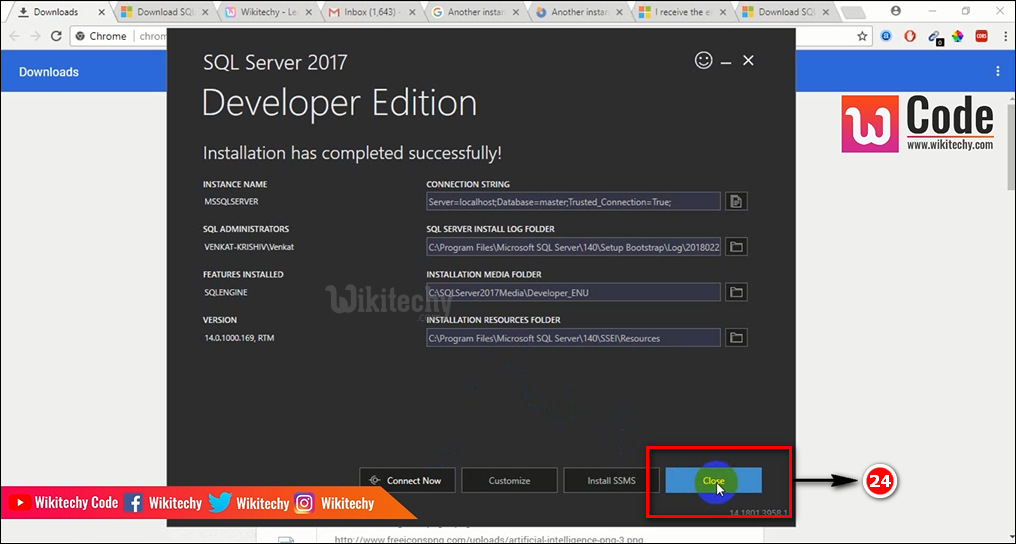
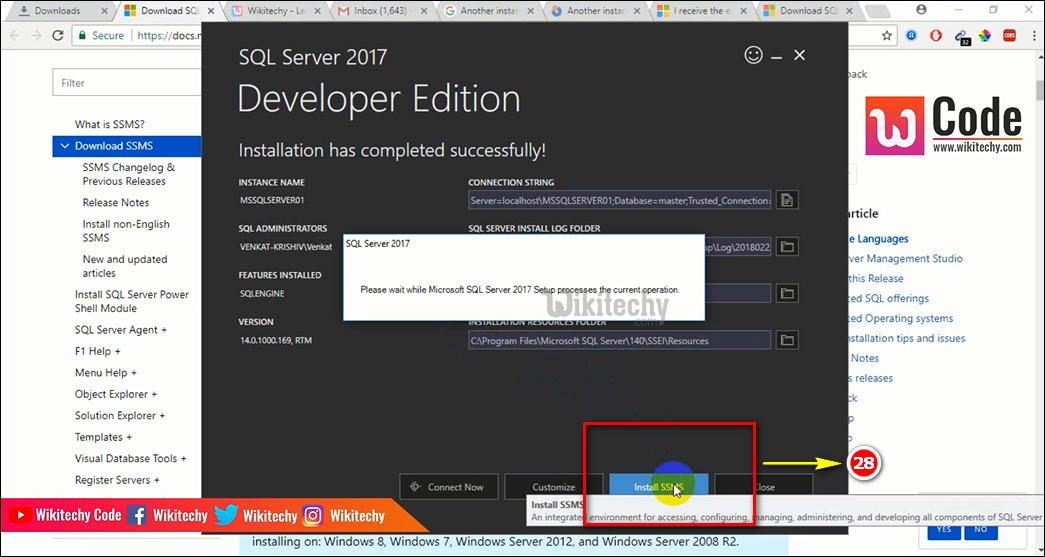
STEP 9:
- Then after downloading You get Installation has completed successfully message.
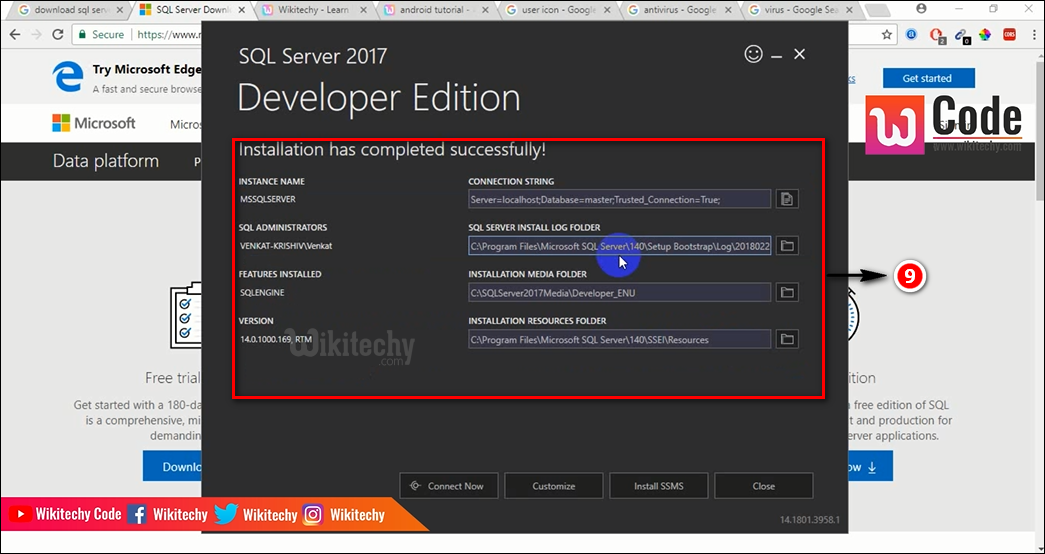
installation successful
STEP 10:
- Now click the Install SSMS button.
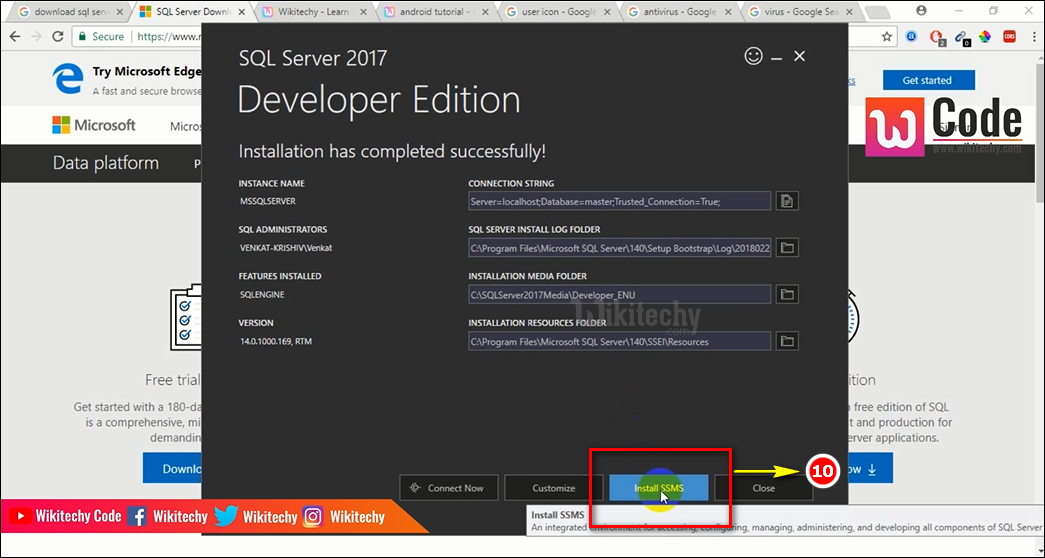
install ssms
STEP 11:
- Now you will get 2 option for downloading SQL Server Management Studio.
- Select 1st option Download SQL Server Management Studio 17.5.
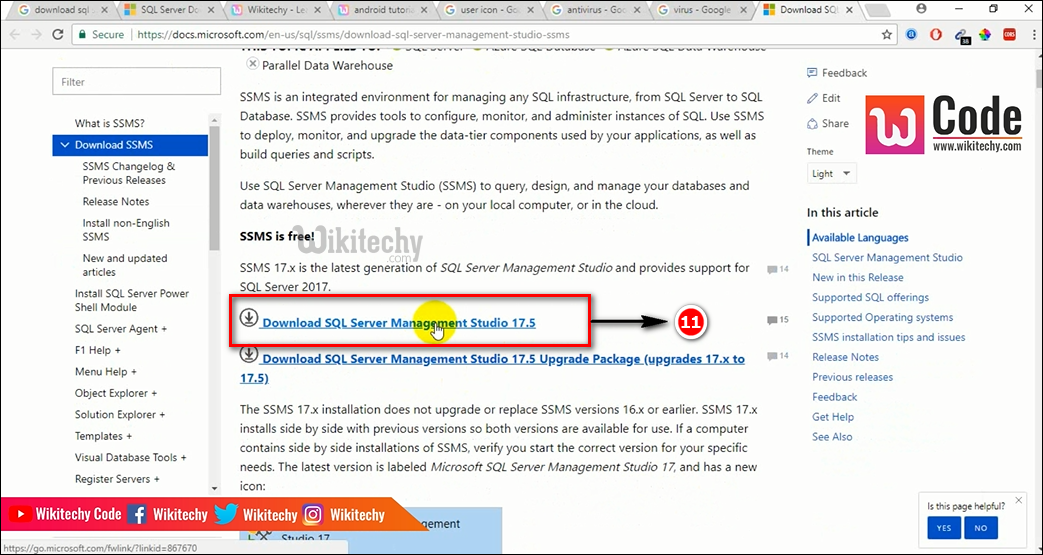
download sql server management studio
STEP 12:
- Now you get Installation has completed successfully message.

Installation completed
STEP 13:
- Click Connect Now button.
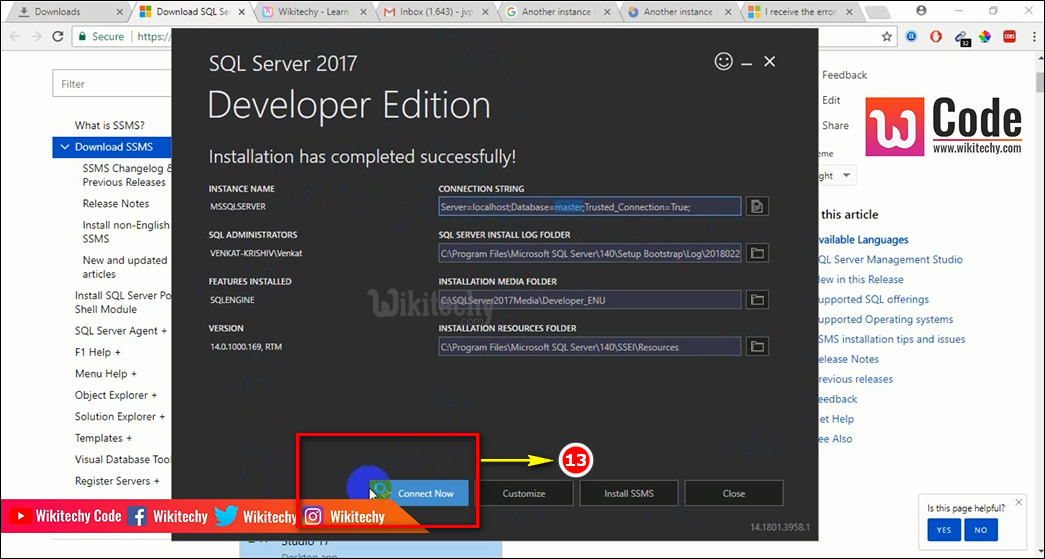
Connect now Button
STEP 14:
- Go to Start menu ètype Run Command window in search boxè type services.msc to open.
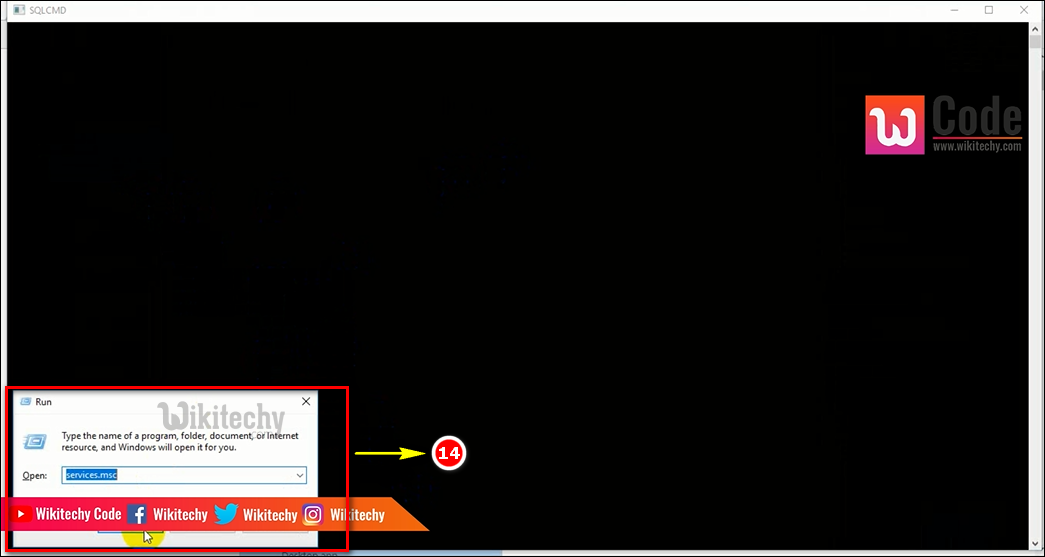
cmd Window
STEP 15:
- Now you will get Services window .
- Search for AssignedAccessManager Service option and press double click.
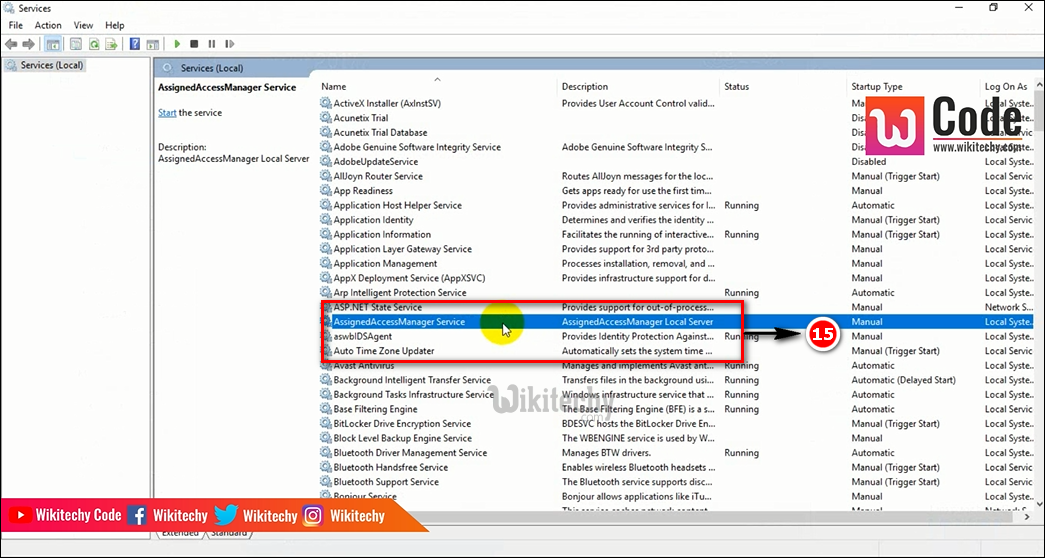
assigned access manager service
STEP 16:
- Next search for SQL Active Directory Helper Service option and press double click.
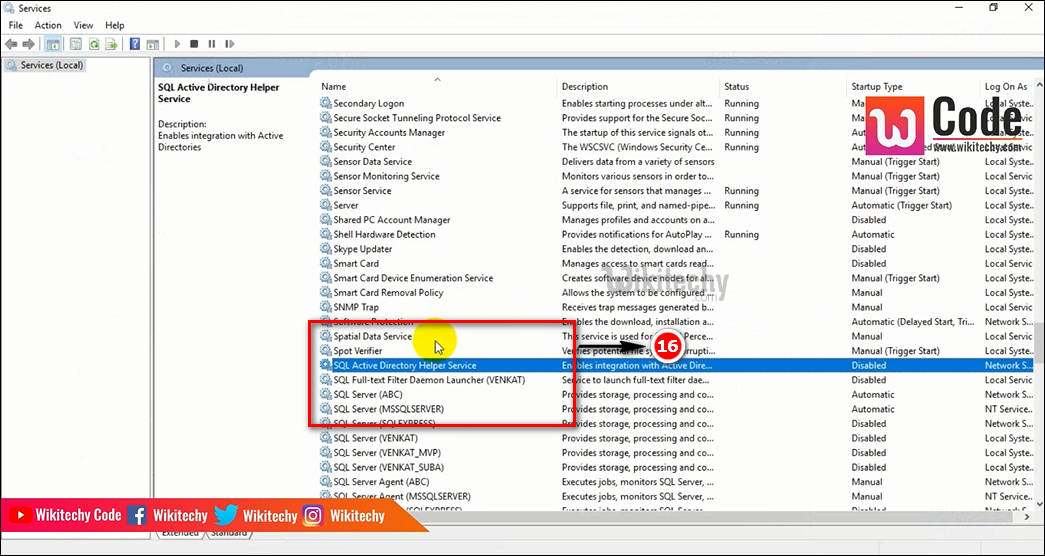
SQL Active Directory Service
STEP 17:
- Search for SQL Server(MSSQLSERVER) and press right click ,select start option.
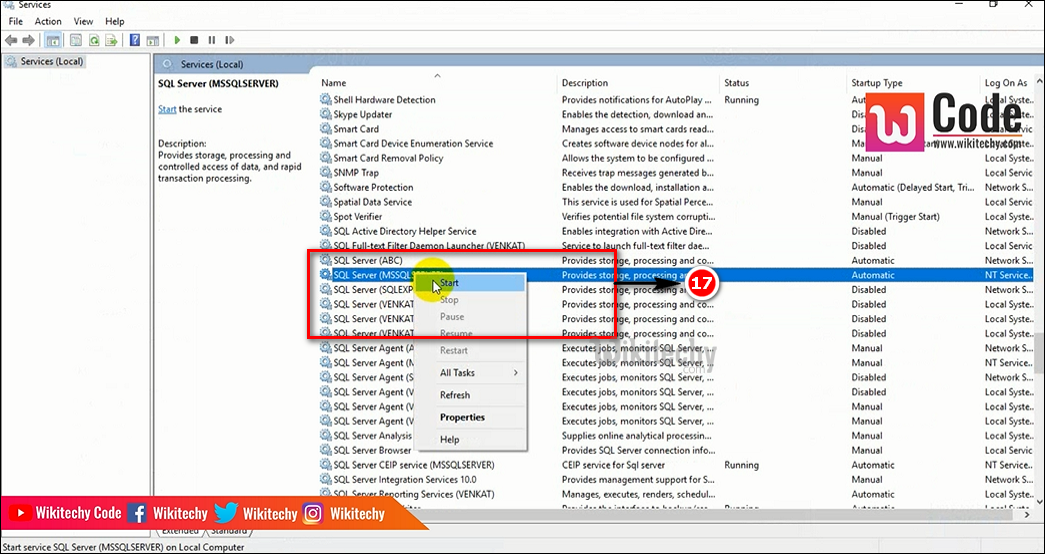
MySQL Server
STEP 18:
- When the server get started you will get following information box.
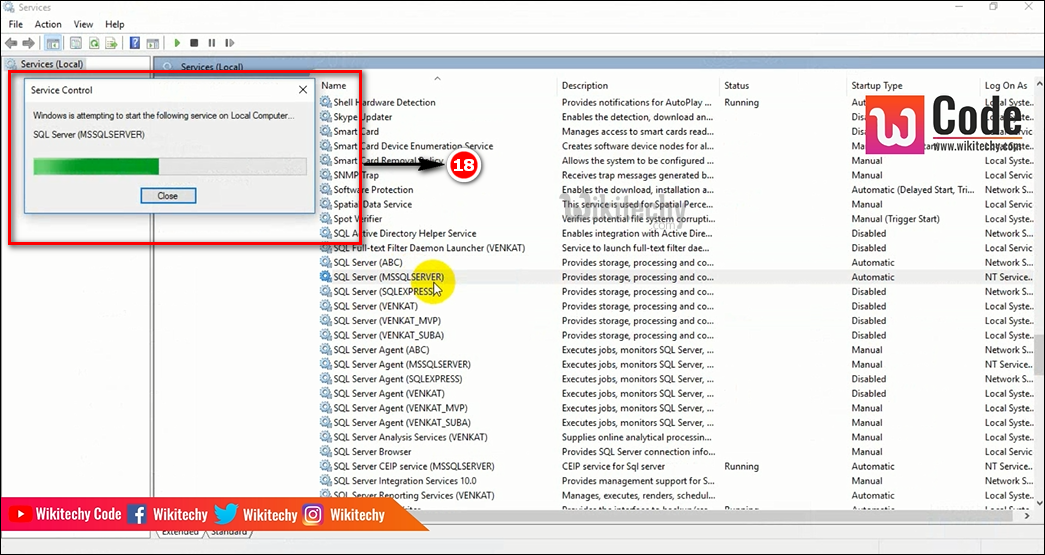
MySQL Server Window
STEP 19:
- Then search for SQL Server(ABC) and press right click ,select start option.
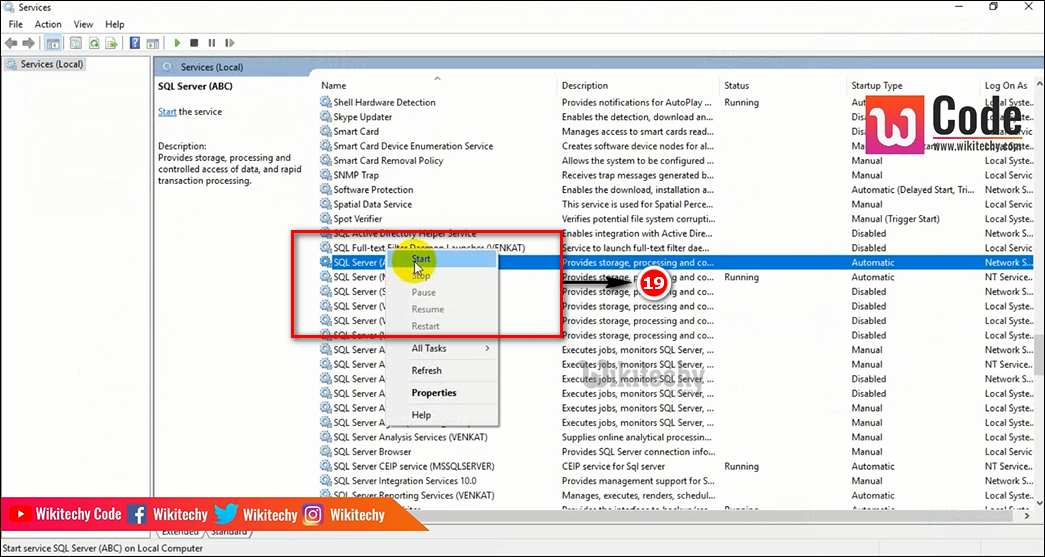
SQL Server abc
STEP 20:
- After the completion of SQL server download the following window will be displayed.
- You will get Installation has completed successfully message.
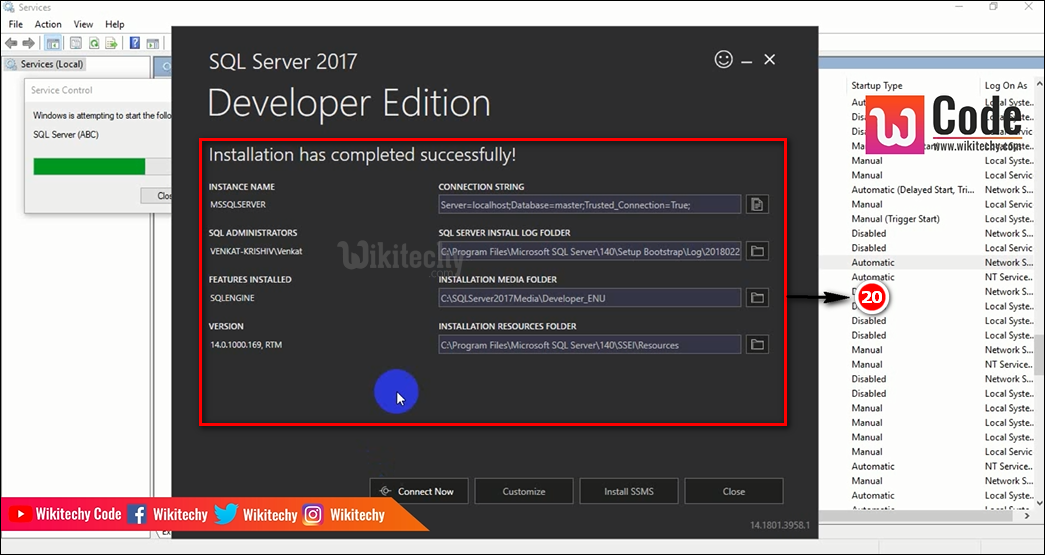
Started SQL Server
STEP 21:
- Click the Connect Now button.
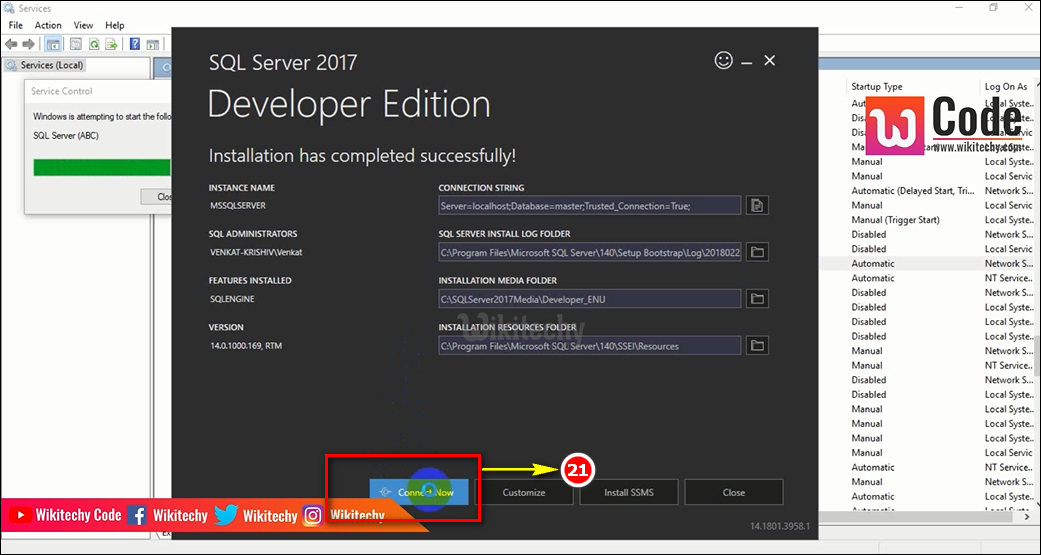
Connect Now Button
STEP 22:
- The following SQLCMD window will be displayed.
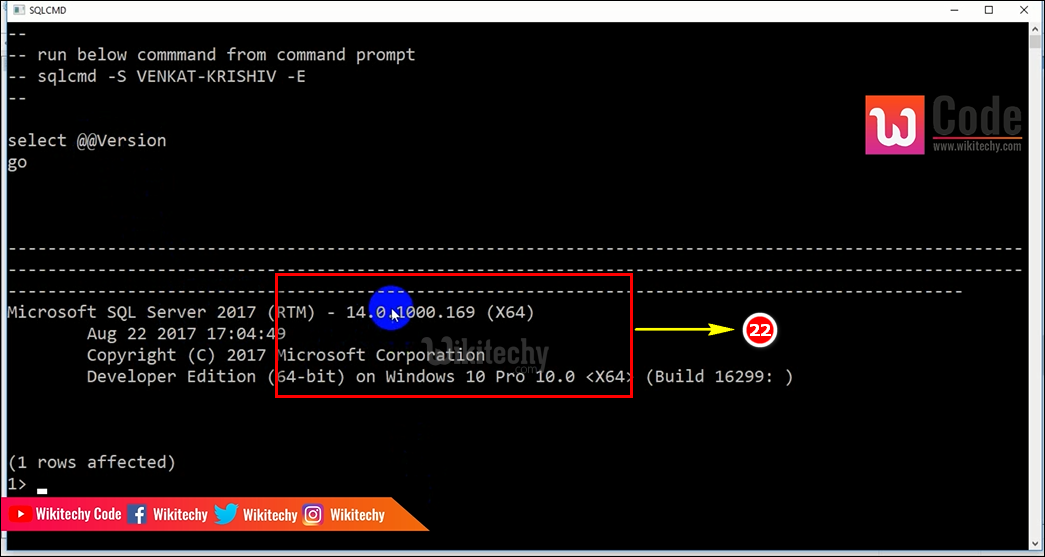
Run cmd window
STEP 23:
- Close the SQL command window and click the Install SSMS button.
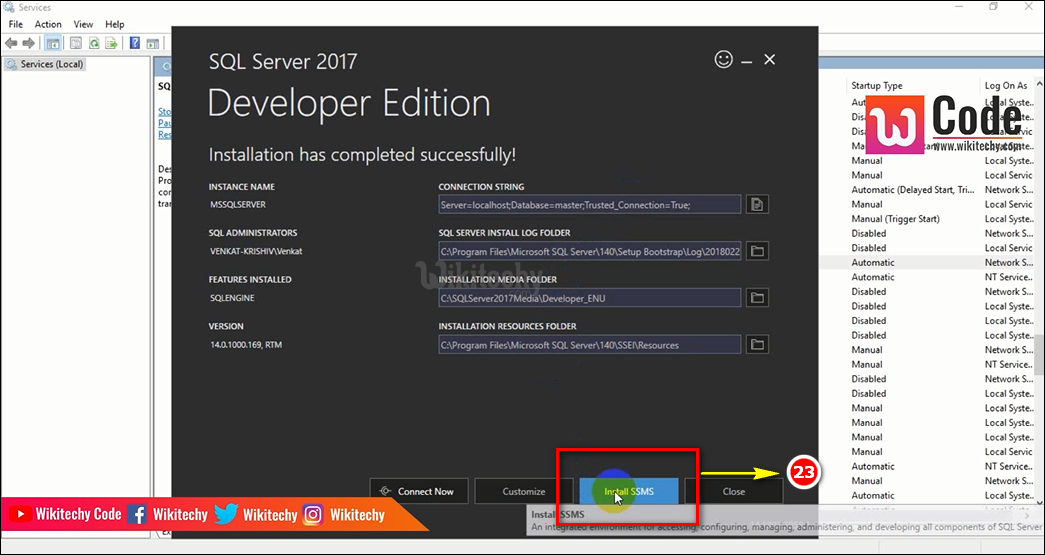
Install ssms button
STEP 24:
- After Installing SSMS press the close button
Close SQL Server
STEP 25:
- Now go to chrome download and open SQL Server2017-SSEI-Dev.exe.
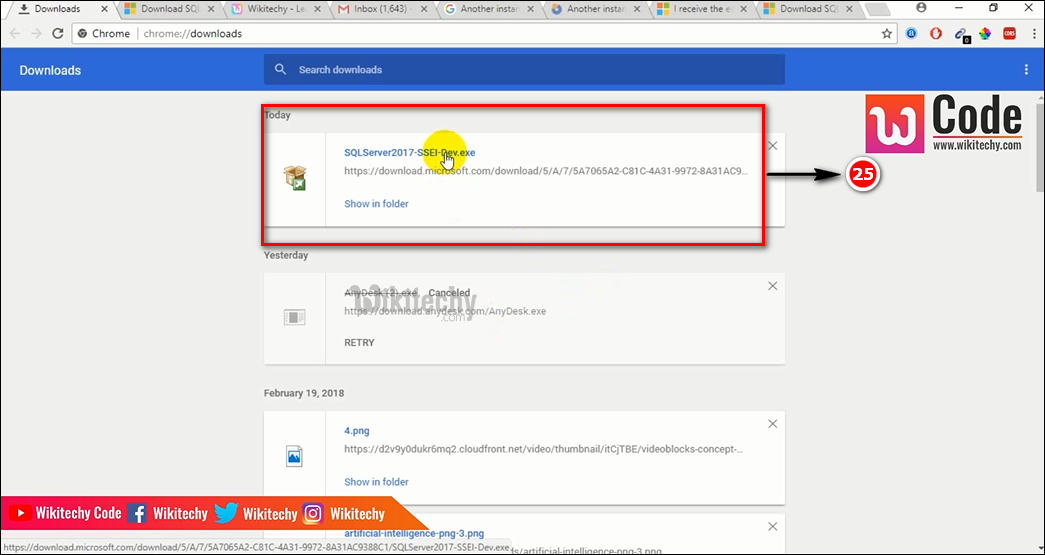
SSMS Exe
STEP 26:
- Go to Basic option->Accept->Install.
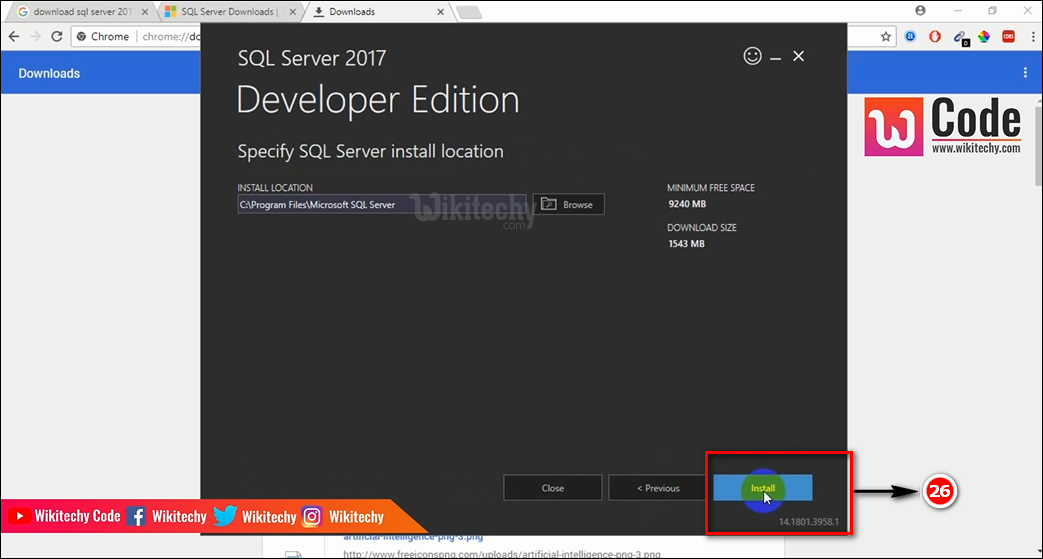
Install button
STEP 27:
- After Installation Click Customize button
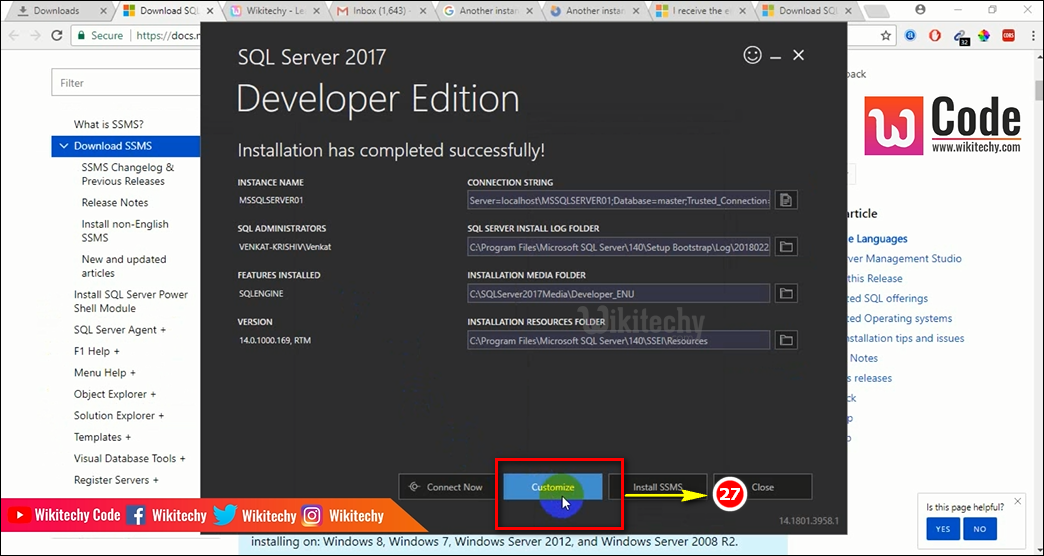
customize
STEP 28:
- Click Install SSMS button.
install ssms operation
STEP 29:
- The Following window will be displayed and its for checking the rules.
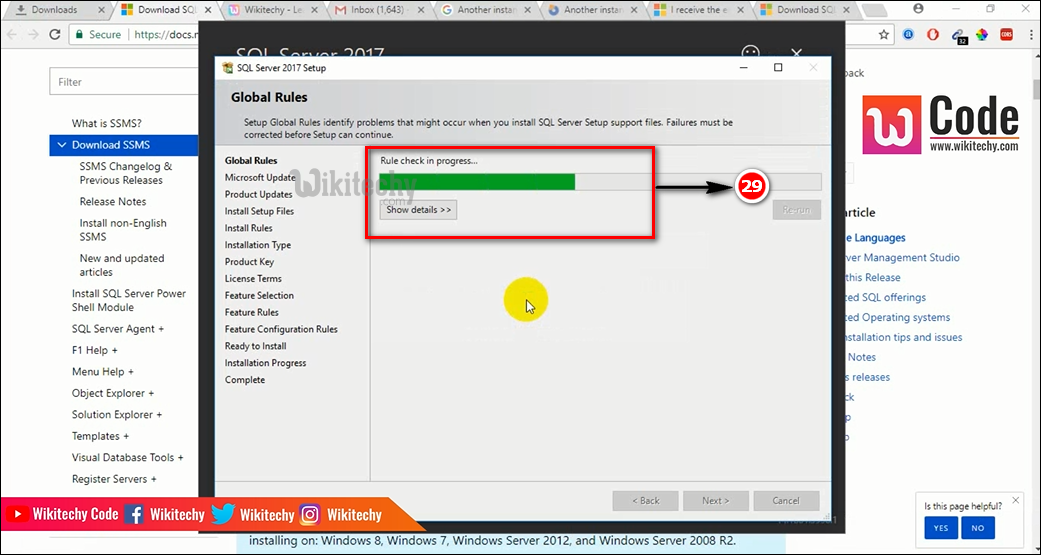
rule progress window
STEP 30:
- Click the Next button.
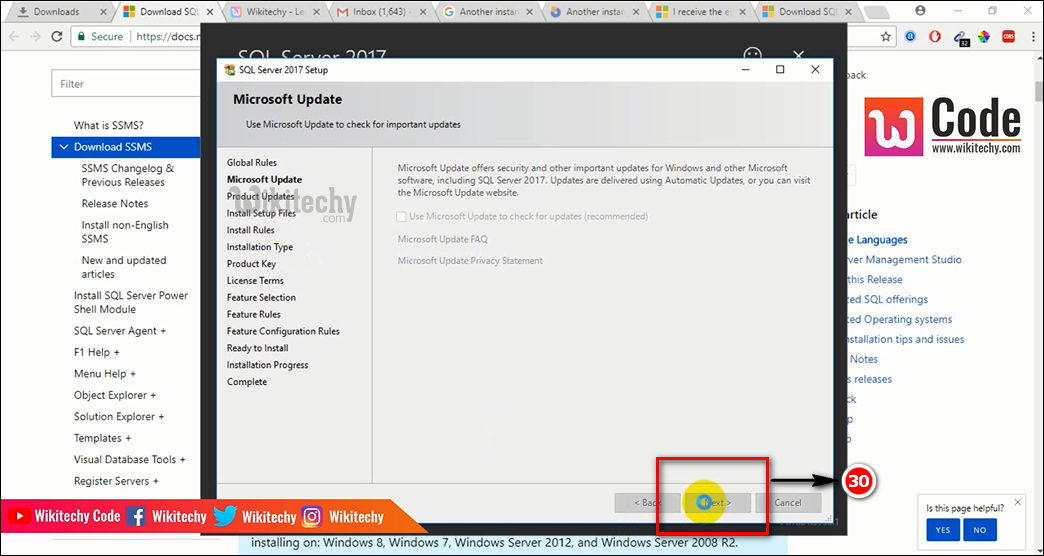
Click next Button
STEP 31:
- click the Next Button.
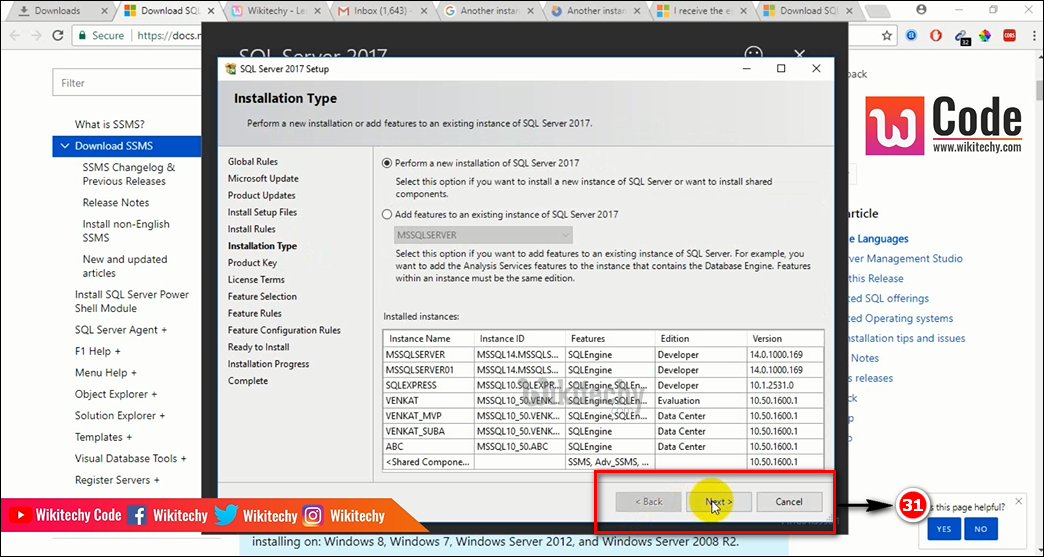
Installation type next button
STEP 32:
- Select add Feature to an existing instance of SQL Server 2017 in that select MSSQLSERVER option.
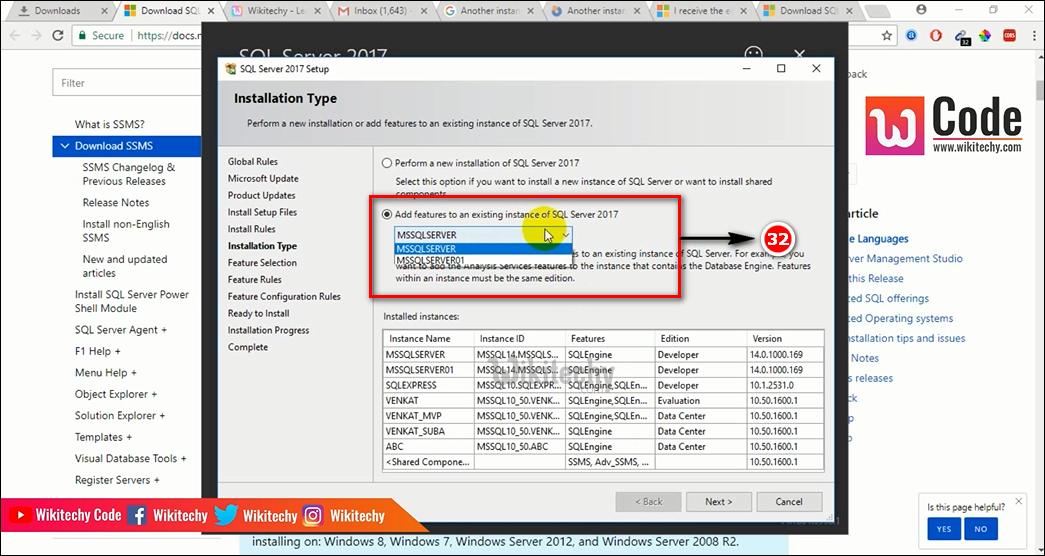
Select mssqlserver
STEP 33:
- Go to SSMS-Setup-ENU.exe and open the exe. After the following window will be displayed.
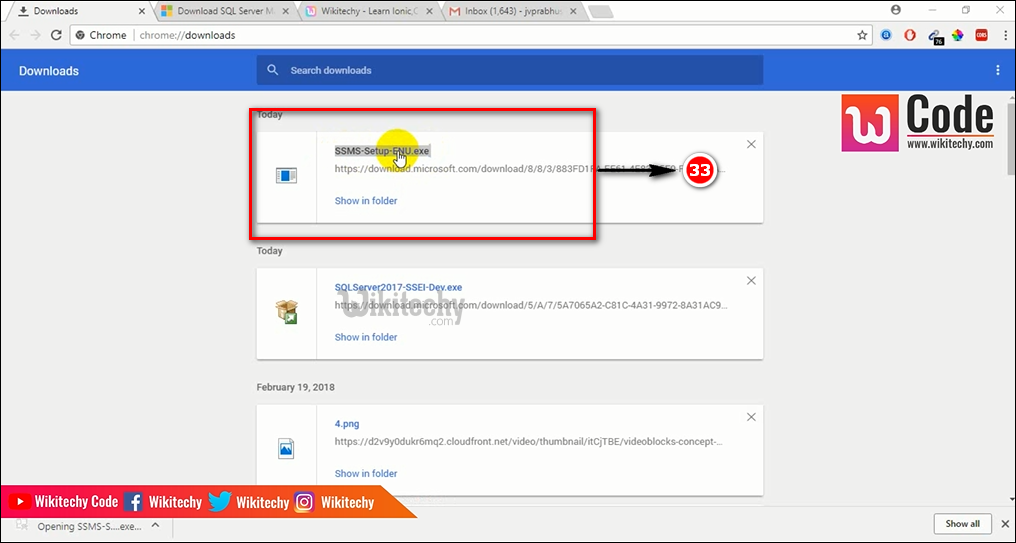
ssms setup exe
STEP 34:
- Now Click the Install button.
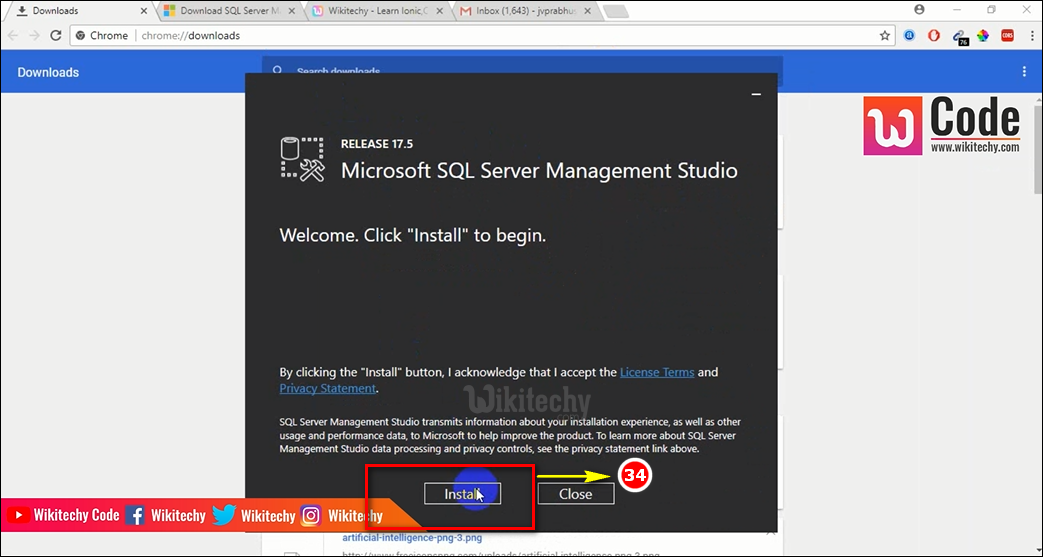
microsoft sql server install
STEP 35:
- The package progress will be installed as shown below.
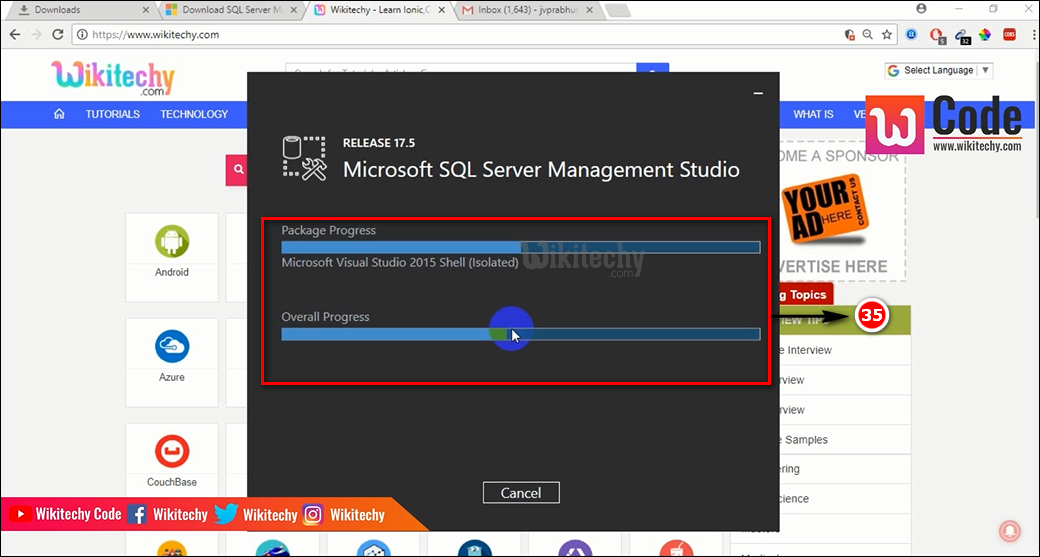
Installation Process
STEP 36:
- Now the Microsoft SQL Server Management Studio has been installed successfully.